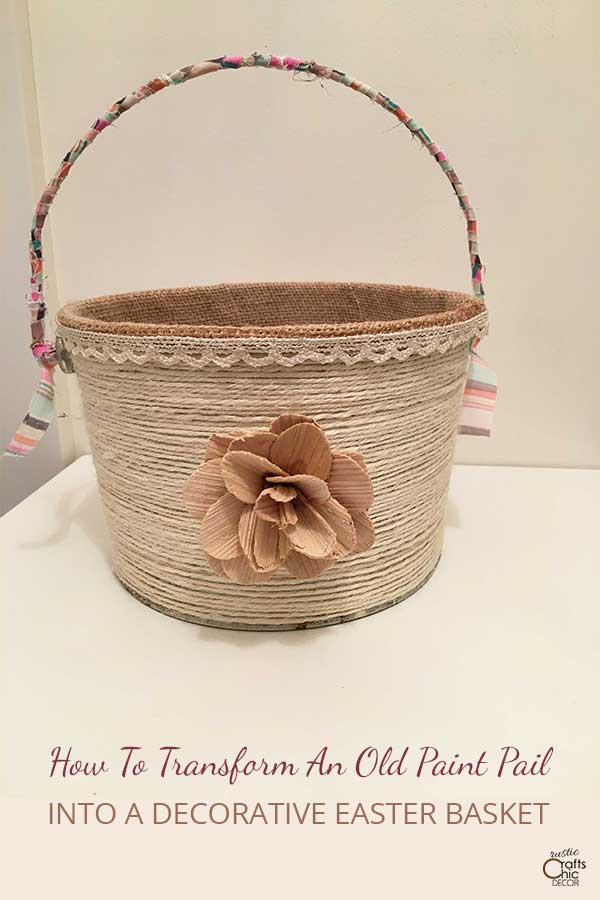
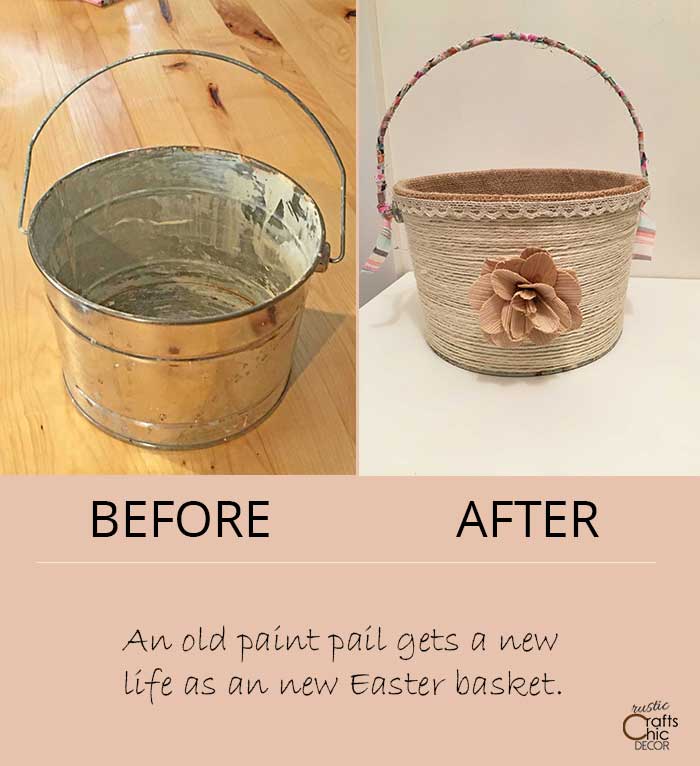
Once Spring is in the air, I get rejuvenated for some new craft projects. Today, I was thinking about Easter and what I could create for my two year old granddaughter. I have purchased Easter baskets in the past but thought it was time to create my own. The idea that I came up with for my DIY Easter basket was to repurpose one of my many buckets or pails.
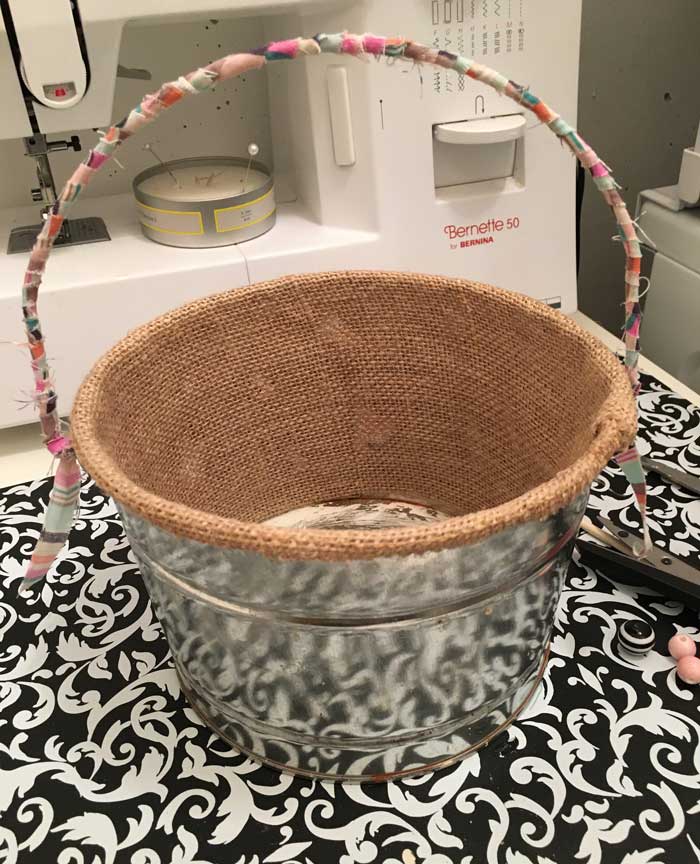
Since I wanted one that was small enough for a two year old to carry, I was left with just an old paint pail that I had on hand. It was full of paint stains so I knew I would have to cover those up. After a little thinking, I decided that I would cover the pail in burlap and twine. Luckily, everything that I needed for this project, I already had on hand.
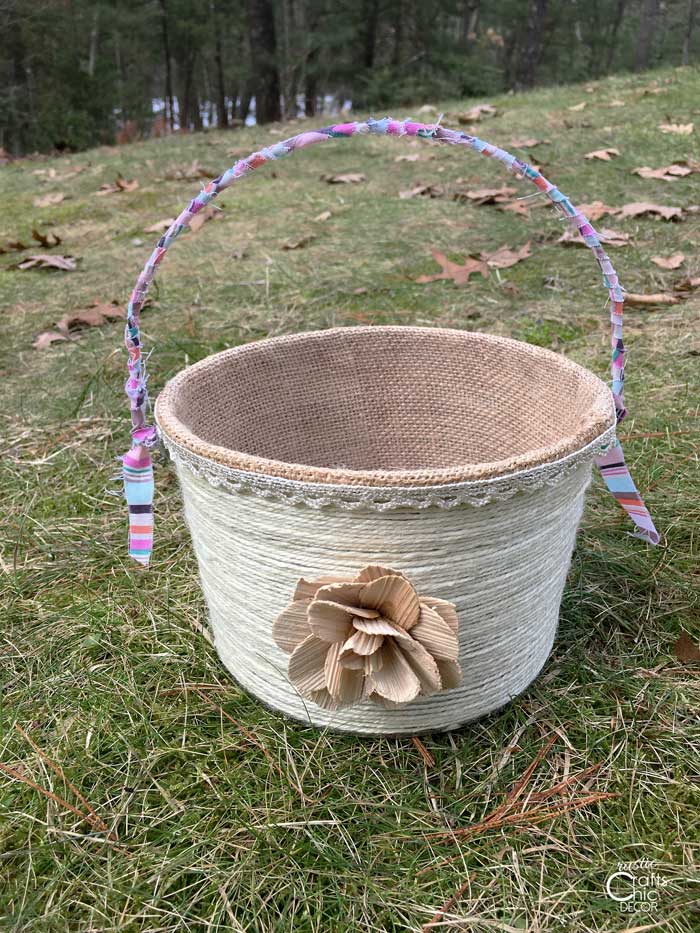
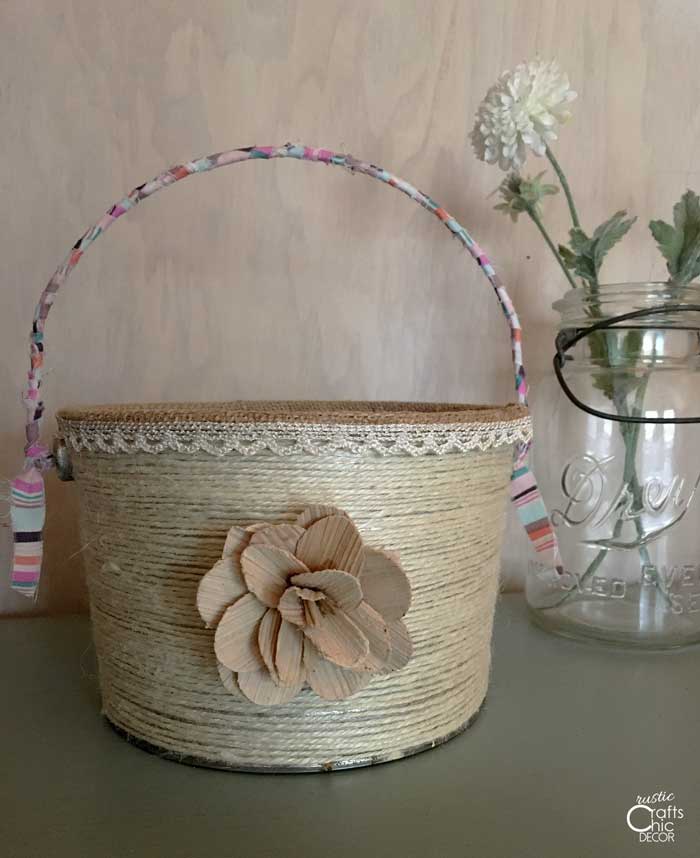
I like neutral baskets so using twine and burlap was the perfect option for covering the pail. To add just a little bit of Spring color, I found some fabric scraps to add to the handle.
My DIY Easter Basket
This post contains recommended product links. If you make a purchase through one of the links, I will earn a small commission at no cost to you.
Supplies Needed
- paint pail or any other bucket or pail
- felt to fit bottom of pail
- burlap to fit around interior of pail
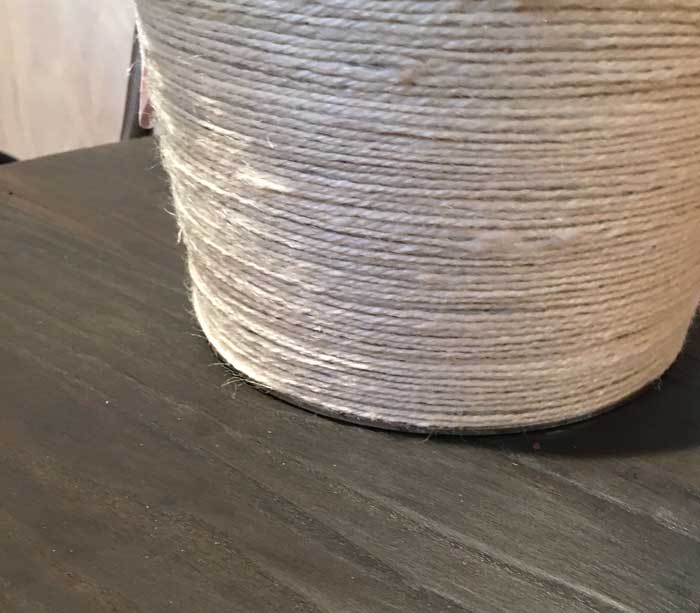
- white twine
- fabric glue
- trim
- scrap fabric strips
- decorative flower (optional)
How To Measure And Cut Fabrics
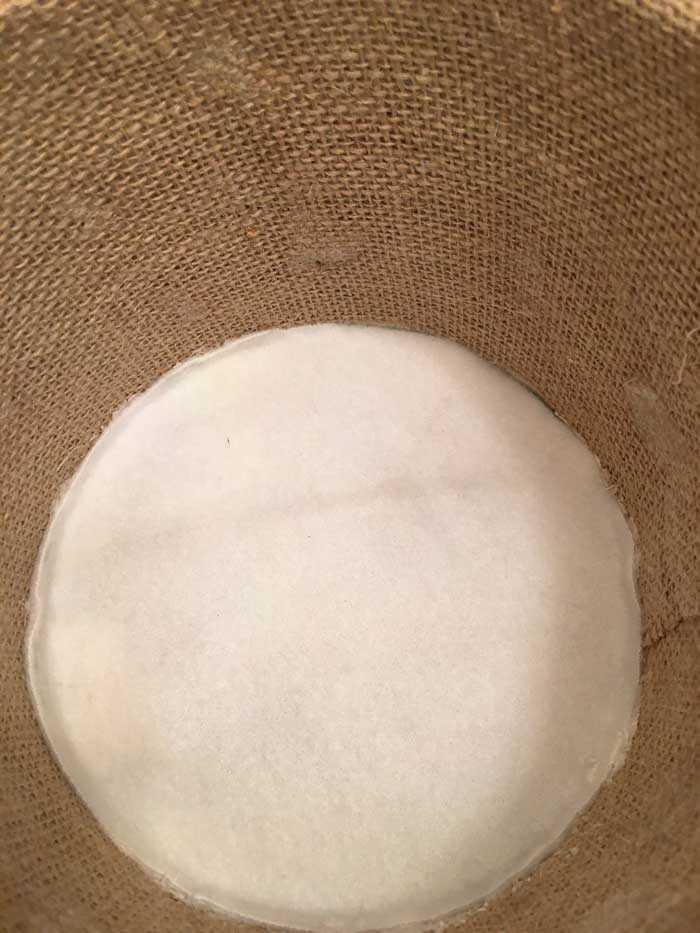
Because I wanted this to be a no sew project, I chose fabrics that could easily be glued without raveling. The inner bottom of my pail will have a felt bottom which is super easy to work with. To measure my circle, all I did was set my pail on top of the felt and trace around the bottom.
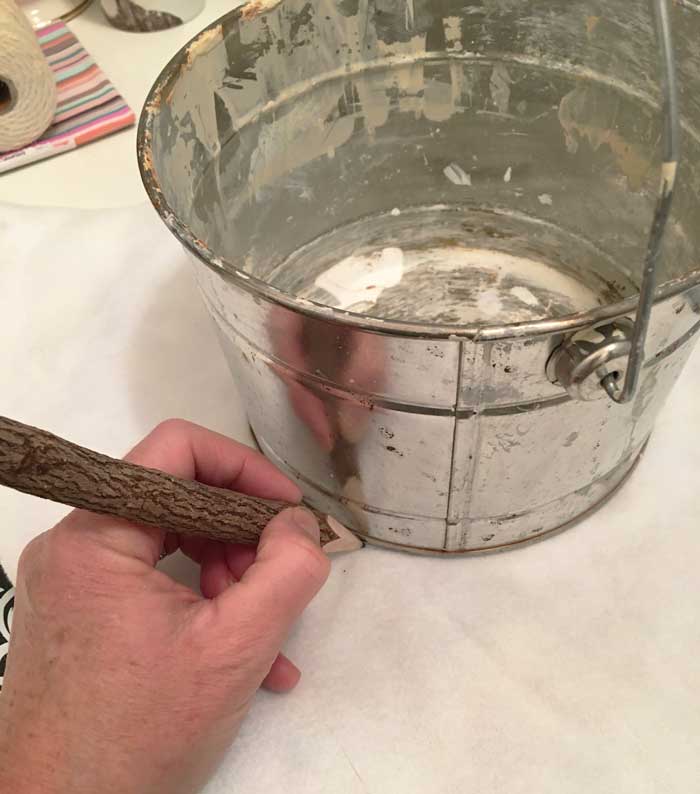
Since my felt was white, I could just use a pencil for tracing.
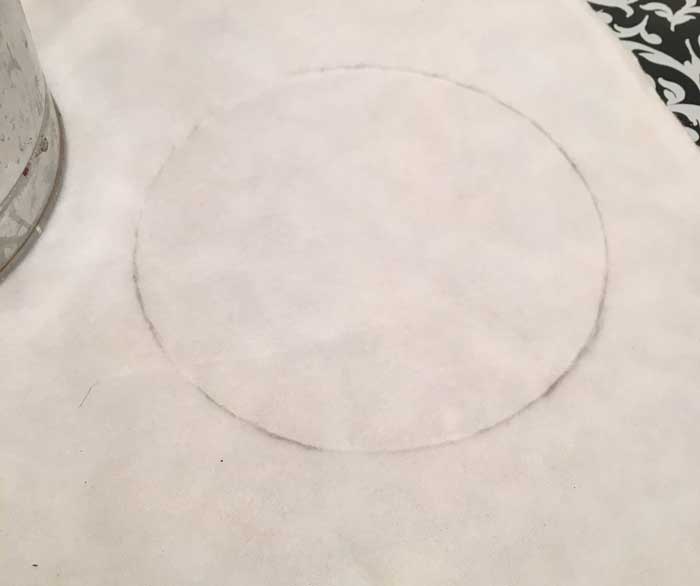
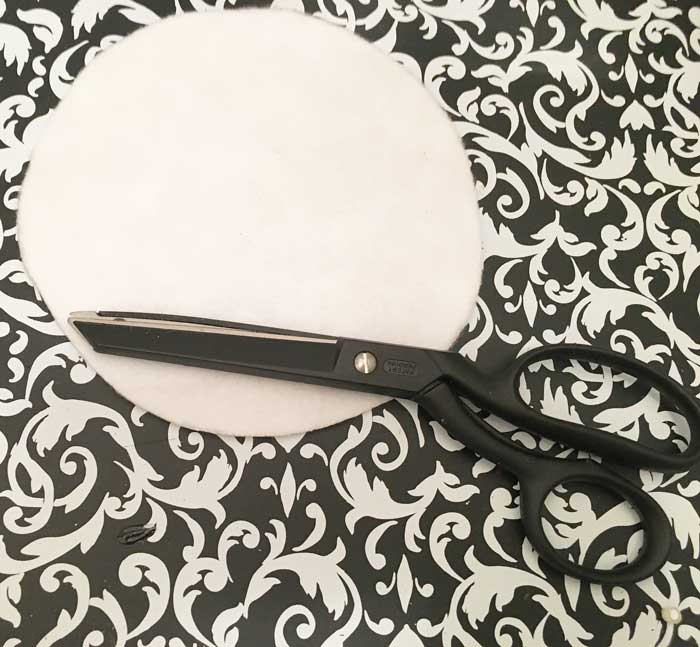
Then all I had to do was cut out the circle. It is just a tad bigger than the interior of the pail bottom but this is how I want it. When I glue down the felt circle, it will overlap the sides about an 1/8 of an inch to cover the burlap edging that we will work on next.
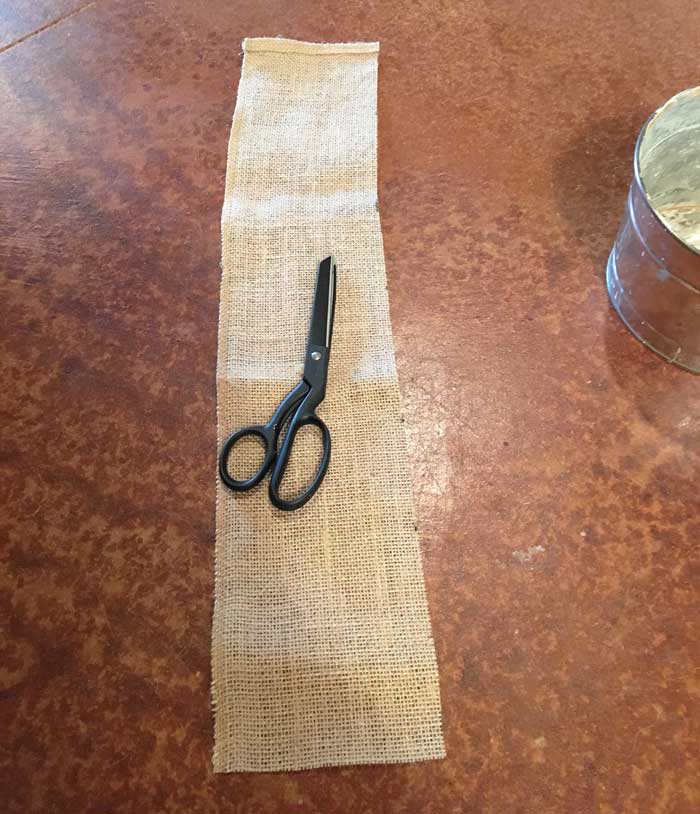
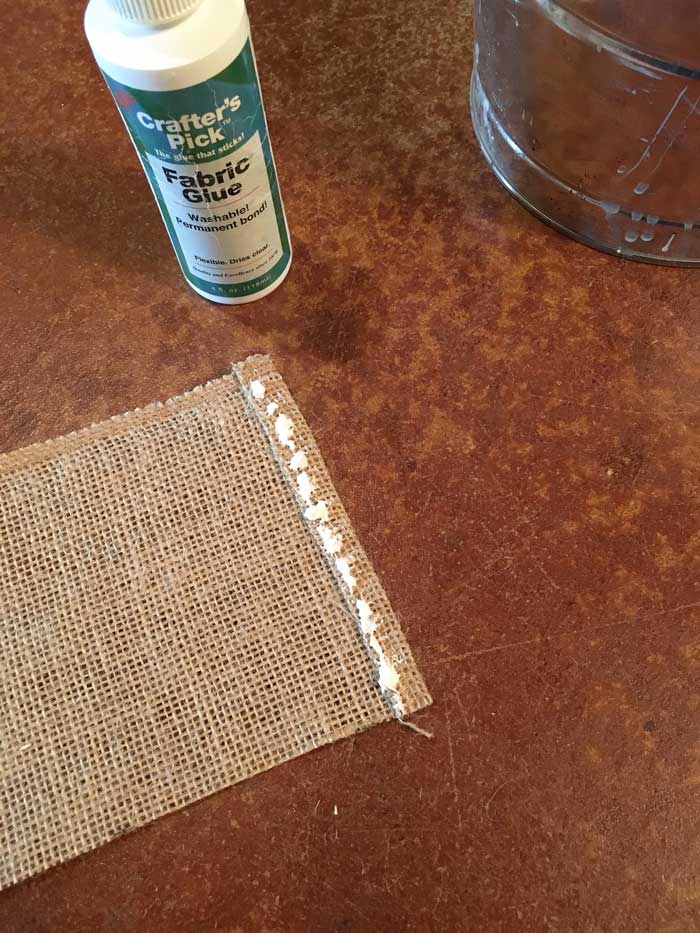
To get the width for the burlap, I measured up from the bottom of the pail and then up and over the top to overlap about a 1/4 inch. I actually used a burlap table runner so the uncut edge was already finished. If I had used burlap without a finished edge, it would still be okay. The trim that will be put on at the end will cover any rough edges.
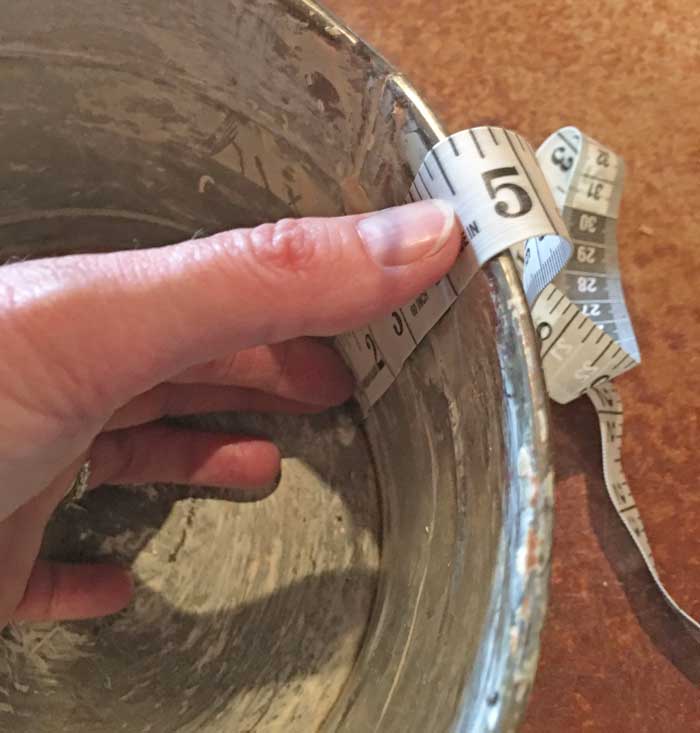
To get the length of the burlap, I measured the distance around the largest part of the pail. Then, I marked out my measurements and cut out my rectangular strip for the liner.
Apply Burlap To Bucket
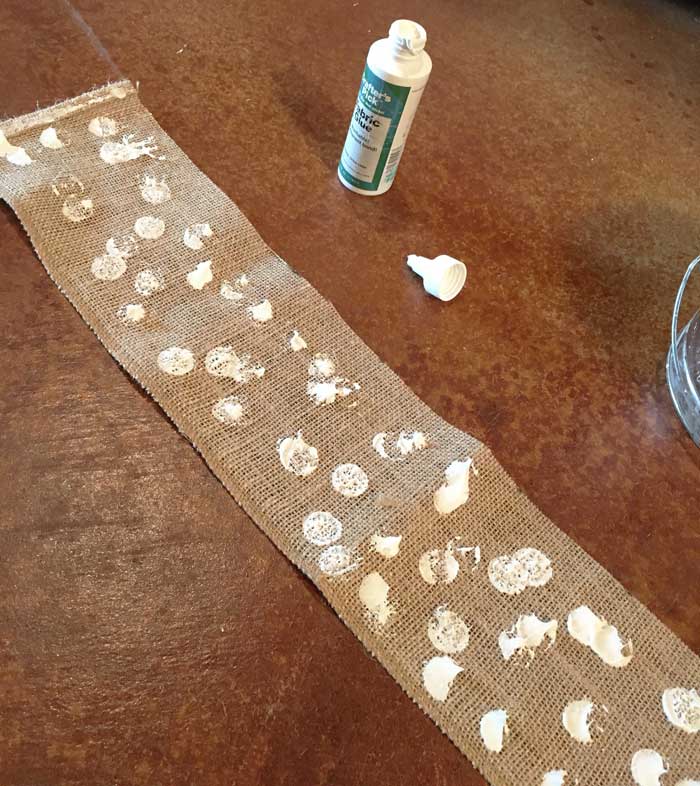
The burlap liner needs to be applied to the pail liner first. Fabric glue works fantastic for this. Originally, I was going to start with one little line of glue and start working my way around the pail as I went. However, that little line wasn’t enough to hold the burlap in place as I tried to wrap the rest. So, I added more glue.
In fact, I took the entire cover off the glue bottle and splattered glue all over the strip. It might have been a little over kill but it did work! The burlap stayed in place much better as I wrapped it around the interior.
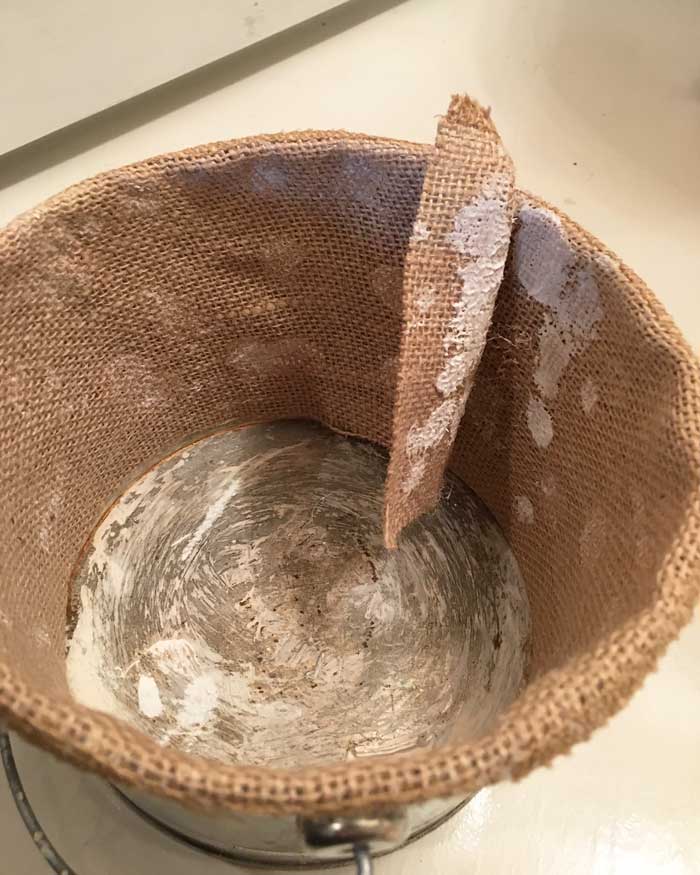
When I was done wrapping, I had some excess burlap that I could trim away. I was a little worried that all of that glue showing had messed the whole thing up. But, luckily, the glue does dry clear!
After pressing the burlap to the inside sides nice and tight, I reinforced the 1/4 inch overlap with a little more glue and pressed that over tight as well. The fabric glue is quite tacky so the burlap stayed in place perfectly.
Wrap Handle With Fabric Strips
Next I went to work at covering the metal handle with fabric strips. All that are needed are some long strips about 1/4 to 1/2 inch wide. It doesn’t matter if you have one long strip or a few strips. You won’t be able to tell where one strip ends and another one starts.
To begin, tie the end of a strip to the bottom of the handle where it attaches to the pail. Then begin winding the fabric around the handle as you work your way up and around. Add a dab of glue every so often to secure the fabric in place. I ended up using a small paint brush to apply the glue to the handle instead of trying to squeeze in on.
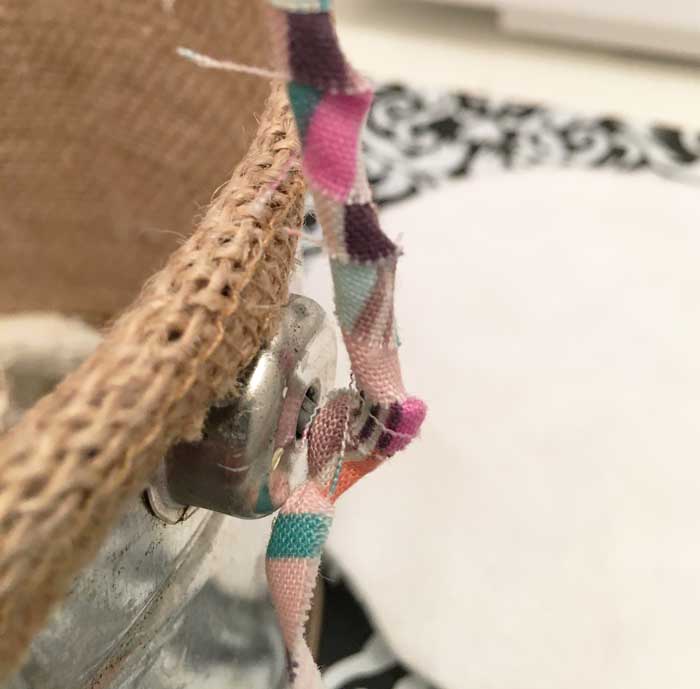
When you get to the other end of the pail, just tie the length of fabric off and trim it to have the same overhang as the first end.
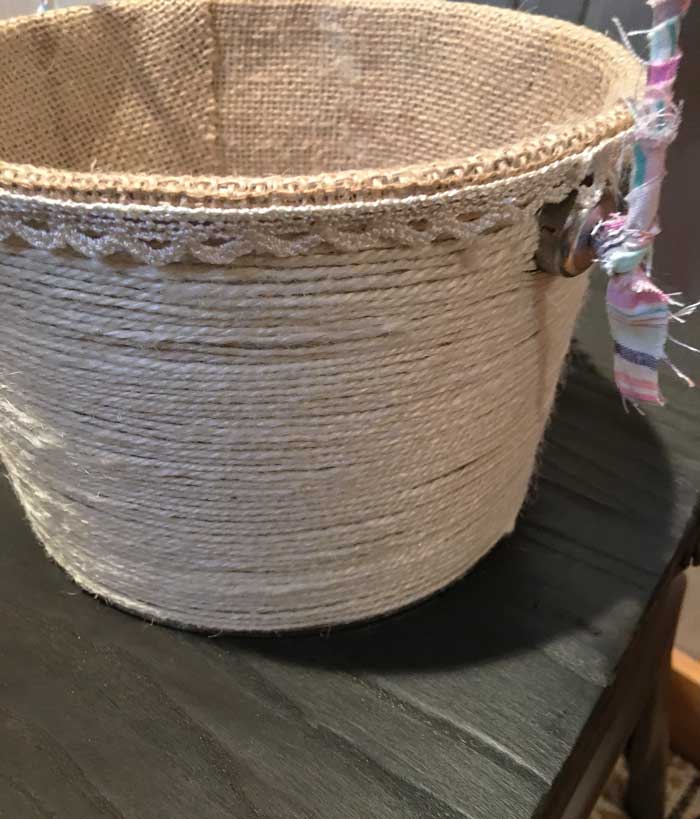
Wrap Twine Around Bucket
For the outside of the bucket, I simply wrapped twine around the whole thing. Starting at the top near one handle attachment, glue the end to the bucket and begin winding. Occasionally add a dab of glue as you continue winding. I tried to get the twine to fit pretty tightly together but wasn’t worried if some of the metal showed through.
Finish Off Edges
To get a nice clean look where the burlap and the twine come together, I added some decorative trim all the way around. Again, I used fabric glue to hold it in place.
The last step was to add the felt bottom. I brushed fabric glue all over the bottom of the pail and then pushed the felt over the glue. The sides of the circle came up and over the burlap liner bottom to cover the edge. Now there are no rough edges and the burlap and twine look seamless.
DIY Easter Basket Complete
I was going to leave the Easter basket as is at that point however I had found a wooden flower in my craft room. It was the final touch that adds a little more Springiness to the basket.
Now all that is needed is a fun Easter egg hunt to fill that basket up!