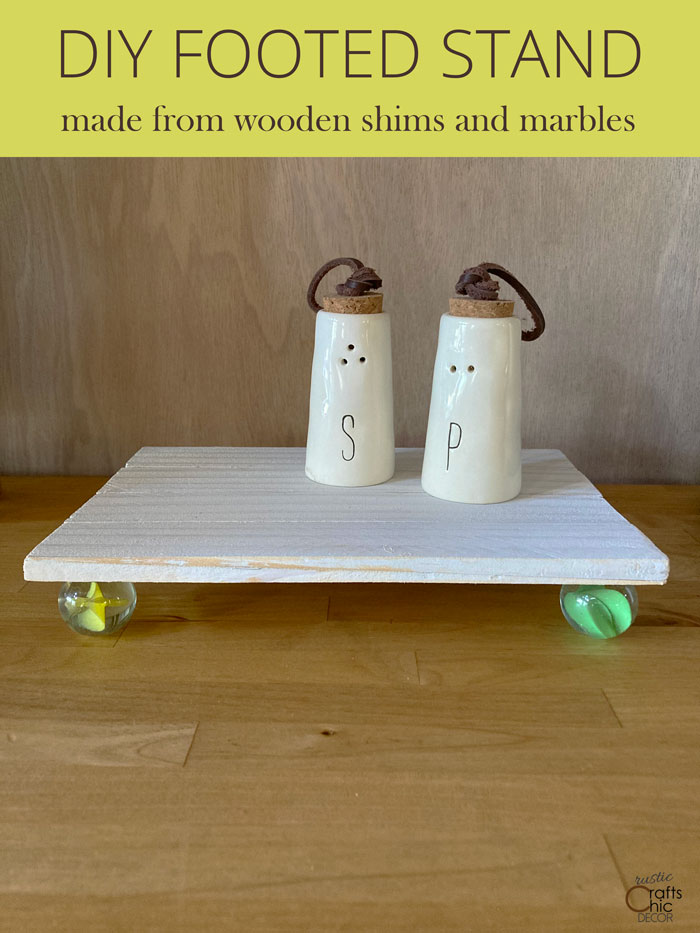
The other day, I was cleaning out my craft room and came across a bag of leftover wood shims that I was saving. Because I do a lot of wood crafts, I figured that the shims might come in handy some day. Well, today, I thought of a fun use for them. I love any kind of footed stand. Whether I use them as a plant stand or simply as a way to elevate any ordinary object, I love the decorative anchor that they provide. If it wasn’t for waiting for glue to dry, this DIY footed stand project would literally take two minutes.
I thought about using old wooden cabinet knobs for the feet which would have been a fun look too. However, since it is the start of Spring, I have been all about adding a little cheerful color around the cabin when I can. Since I have some large colorful marbles, I figured that they would give the perfect amount of colorful chic to this otherwise rustic stand. I’ll show you my easy process for whipping up a decorative footed stand in minutes.
This post contains recommended product links. If you make a purchase through one of the links, I will earn a small commission at no extra cost to you.
What You’ll Need
- eight wood shims
- four large marbles
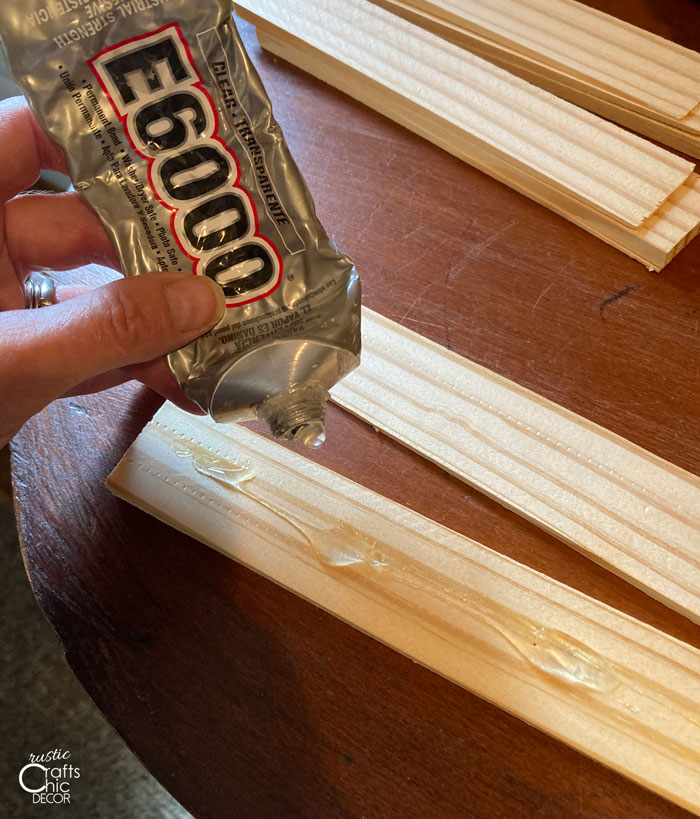
- E6000 craft glue
- white milk paint
- sandpaper
Instructions For DIY Footed Stand
Turn a pile of wood shims into a decorative footed stand that has the rustic look of reclaimed wood.
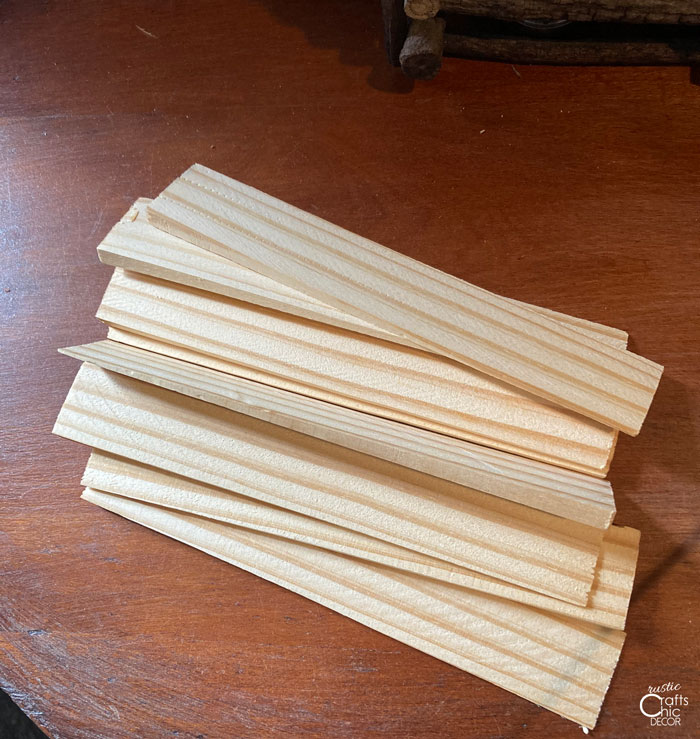
Step One: Glue Two Wood Shims Together
Pair up two shims and lay them so the tapered ends are at opposite sides of each other. Laid like this, they will create a uniform rectangular piece of wood. Using E6000 craft glue, adhere the two shims together. The glue will give a super strong bond that won’t fall apart. Repeat the gluing for the remaining three pairs.
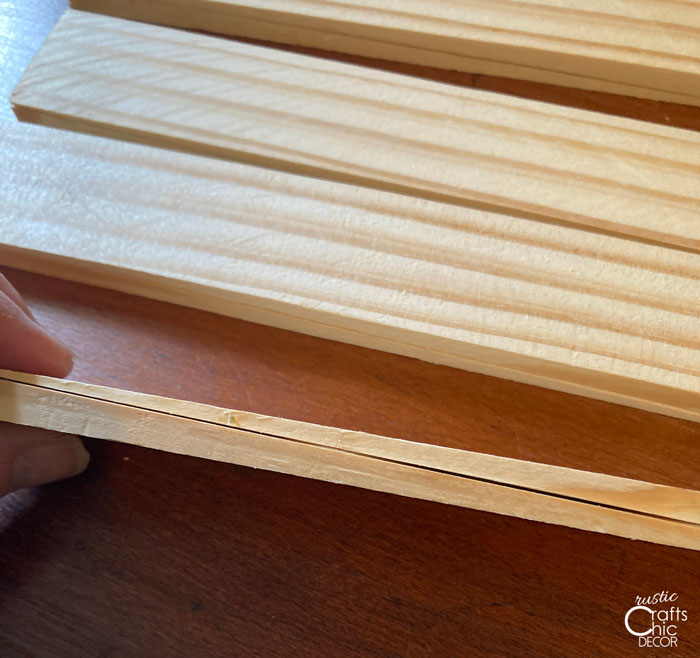
Step Two: Glue The Four Uniform Pieces Together
Now apply glue to one edge of a rectangular piece and press another piece next to it. Once you have all of the pieces glued together to form your stand, let it dry for about an hour. You will be able to work with it again after that but it won’t be totally hardened for about a day.
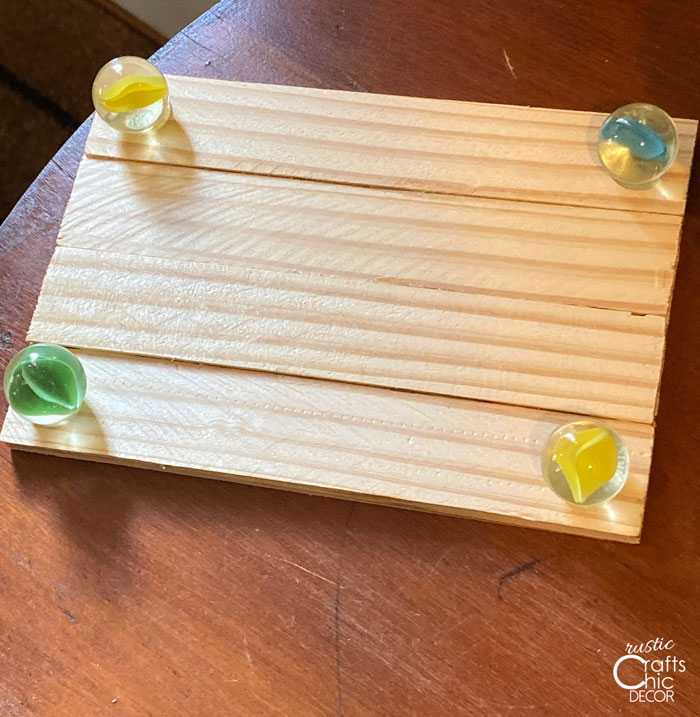
Step Three: Glue Marbles To The Four Corners
Choose which side that you want for your bottom and glue the marbles to the corners. Let dry for another hour.
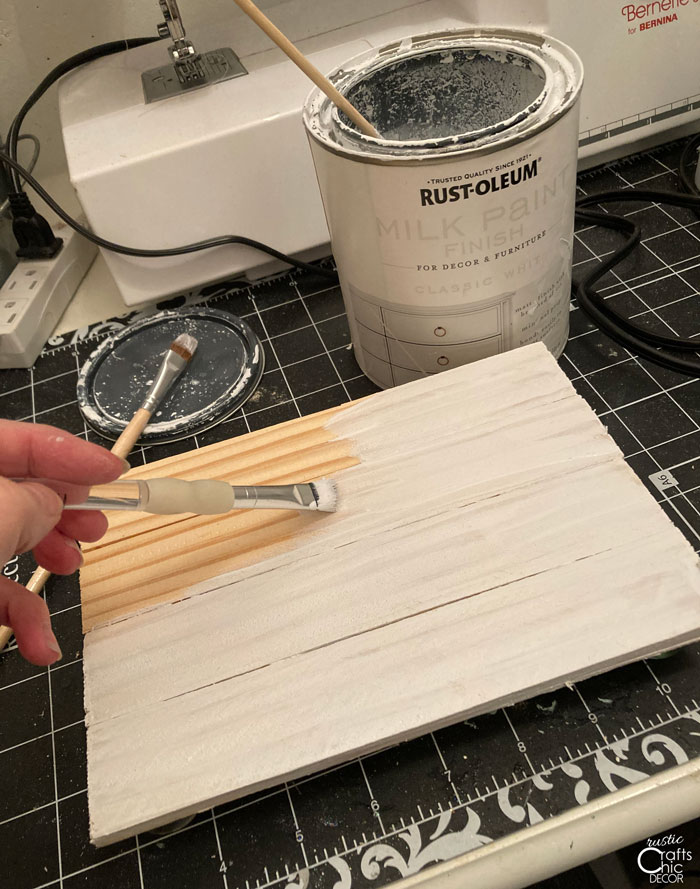
Step Four: Paint With Milk Paint
Flip the stand over and paint the top and sides with milk paint. I like to use milk paint because it looks more like a wash, with one coat, and lets some of the wood grain show.
Step Five: Sand Over Paint
At this point, you can lightly sand the stand to remove any rough wood and smooth out the finish. Some of the bare wood will most likely show with just one coat. I like the distressed look so I didn’t add any more coats of paint.
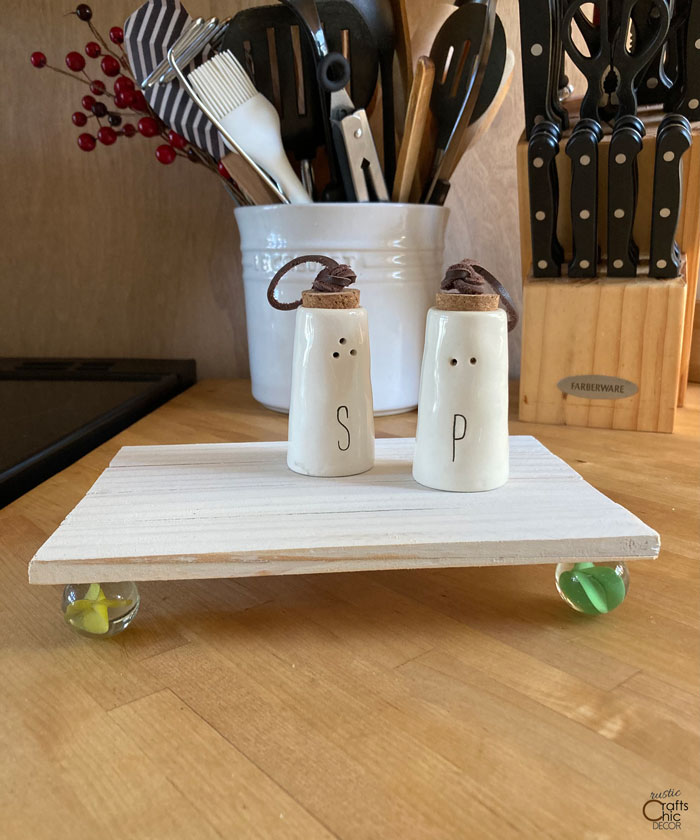
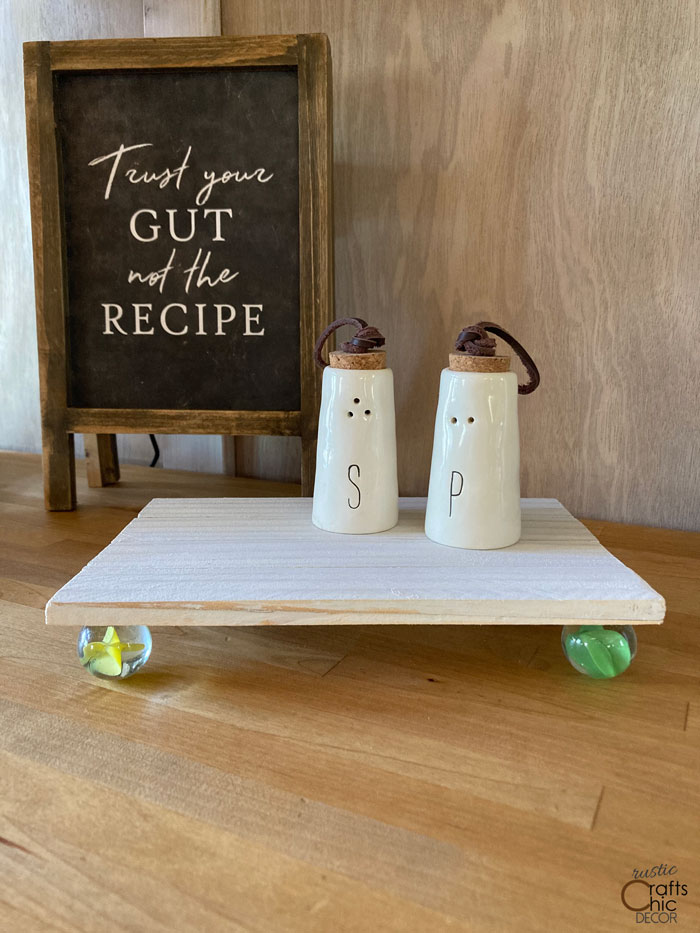
Footed Stand Ready For Use!