If you like to fill vases or bowls with decorative balls, you will want to try making these DIY twine balls. By using different colors of twine and various embellishments, you can create an interesting bowl or vase. These twine balls can also be used for Christmas ornaments to hang on the tree. Use them at Christmas on the tree then all year round in a bowl or vase.
How To Make DIY Twine Balls
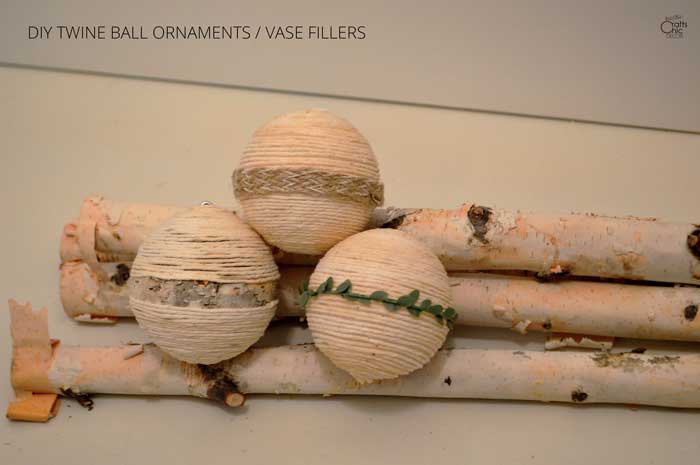
Supplies Needed For DIY Twine Balls
- medium size styrofoam balls
- ball of twine
- ribbon embellishments and/or birch bark
- Mod Podge matte decoupage
- small paint brush
- small eye screws
Instructions For DIY Twine Balls
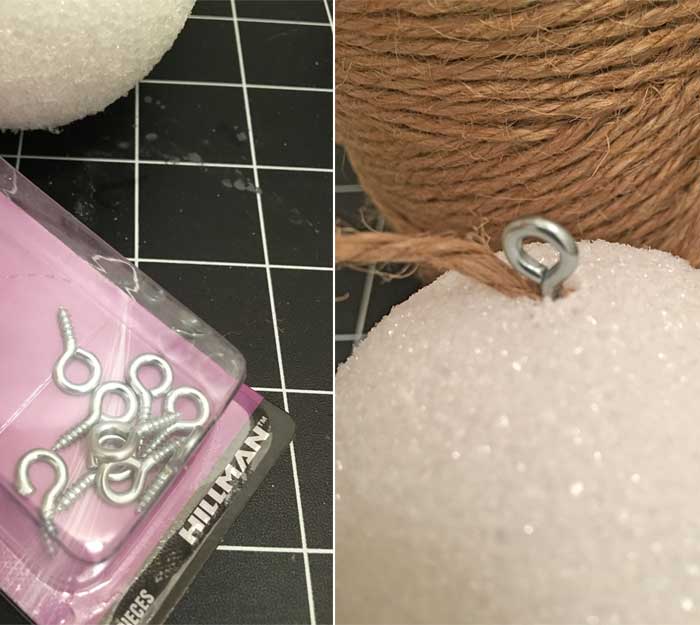
- If you want to hang these balls, then place the end of the twine at the top center of the ball. Brush some glue or Mod Podge onto the end of an eye screw. Insert the eye screw into the ball over the end of twine. However, if you are just going to be using the balls for vase fillers, you can skip this part.
- Brush a small amount of Mod Podge onto the ball, at the top, and begin winding the twine around. This is easier with the eye screw holding the twine in place. However, you can also use a straight pin to hold the twine or just hold it with your finger tip until you have a good circle going.
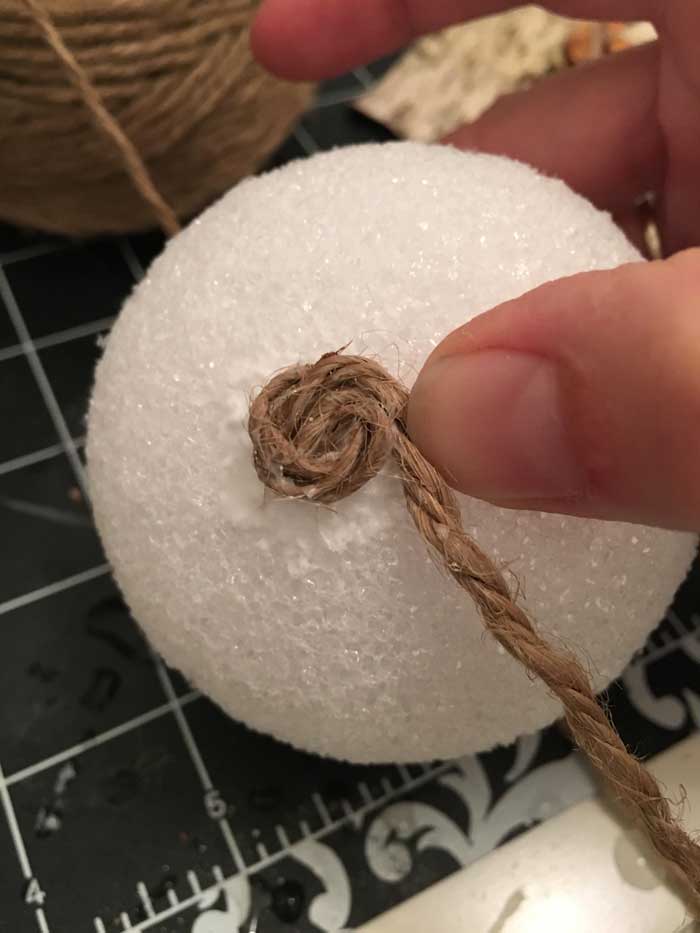
3. Once you have the twine looped a few times, brush some more Mod Podge onto the top of the twine to help hold the strands in place. You don’t need to put it on thick. Just a thin coat works perfectly. The first ornament that I did, I used glue on the styrofoam and then Mod Podge on top. I don’t like the way that one turned out as you can see some of the glue between the strands.
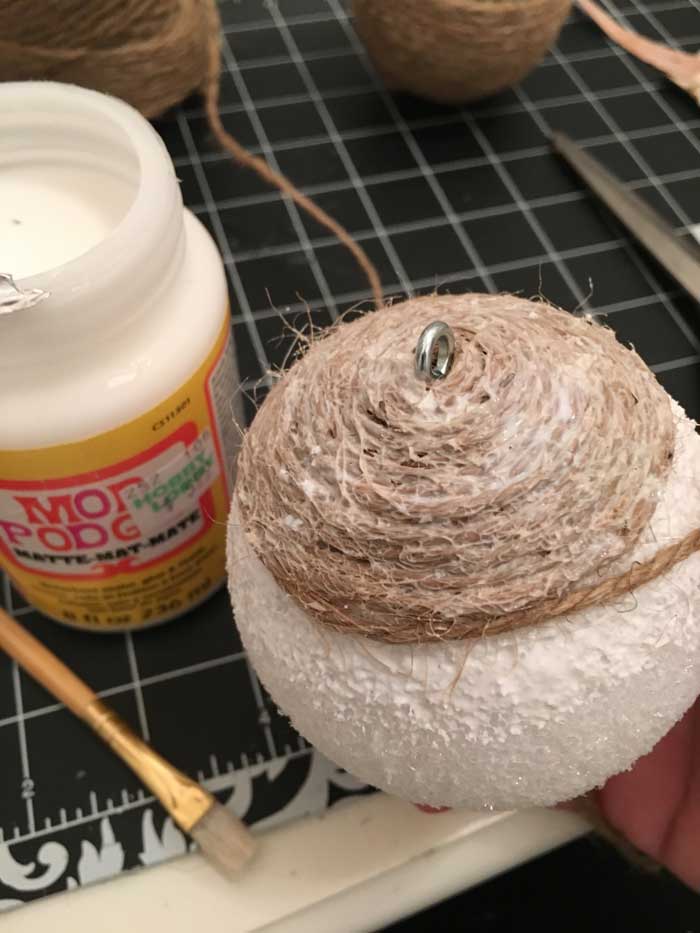
4. Continue brushing the Mod Podge on top of the newly placed twine and then a new strip on the styrofoam for pressing the next rows of twine on. So, there will be Mod Podge below the twine and on top of twine. It looks really ugly during the process but it does dry clear! There were a couple of spots on the picture above where the Mod Podge is thicker than it needs to be. It still dries clear but looks a little more matted in those areas. If you keep to a thin coat, you won’t have any problems.
I found that it was easiest to roll about three quarters of the twine on the ball and then let it set to dry enough to not be tacky. Then, when I finished the bottom, I had something dry to hold on to. Otherwise, your fingers get too sticky and the twine will start to come off with your finger. Yep, I did that too. By the time I was done doing six twine balls, I felt quite a bit smarter! Also, I didn’t cut my twine from the roll until I was finished wrapping my entire ball. I wouldn’t have known how big of a string to cut and I didn’t want to keep piecing in new sections.
While I was waiting for twine to dry, I started another ornament with a different color twine. It was actually pretty relaxing just wrapping and decoupaging.
Finishing Touches For DIY Twine Balls
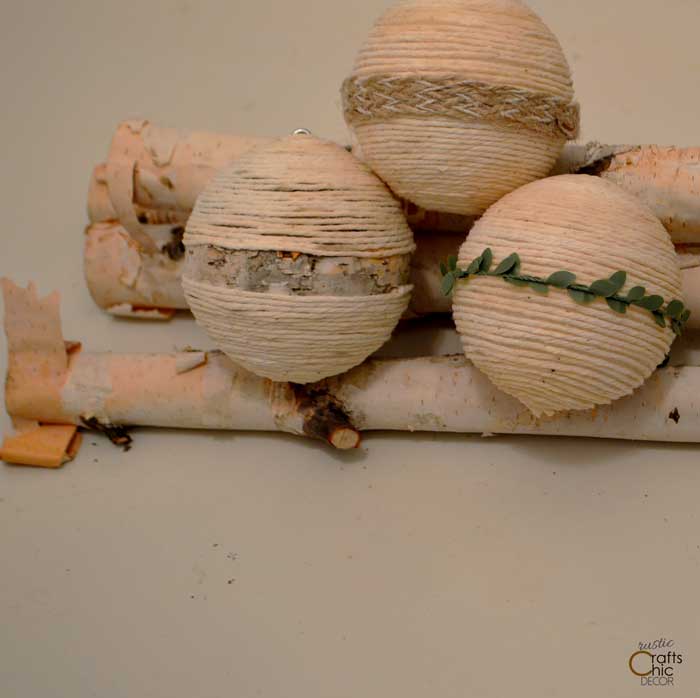
I was most excited to make the white DIY twine balls. The light neutral will work for anytime of the year and I only embellished them with a strip of neutral garnish around the middle. For the ornament with the birch bark peeking through, I used a little different technique. Instead of gluing it on top of twine, like the ribbon, I Mod Podged it to the styrofoam ball before wrapping it with twine. Then, I stopped wrapping the twine once it hit and covered the top of the birch bark strip. I started the twine back up again at the bottom of the birch bark strip.
If you want to use birch bark to decorate your ball with, you can usually find sections of it at a hobby store. Or, if you have access to a woods with birch, it’s pretty easy to find small pieces from fallen limbs. I had some small pieces of bark that I washed and then peeled small strips from it.
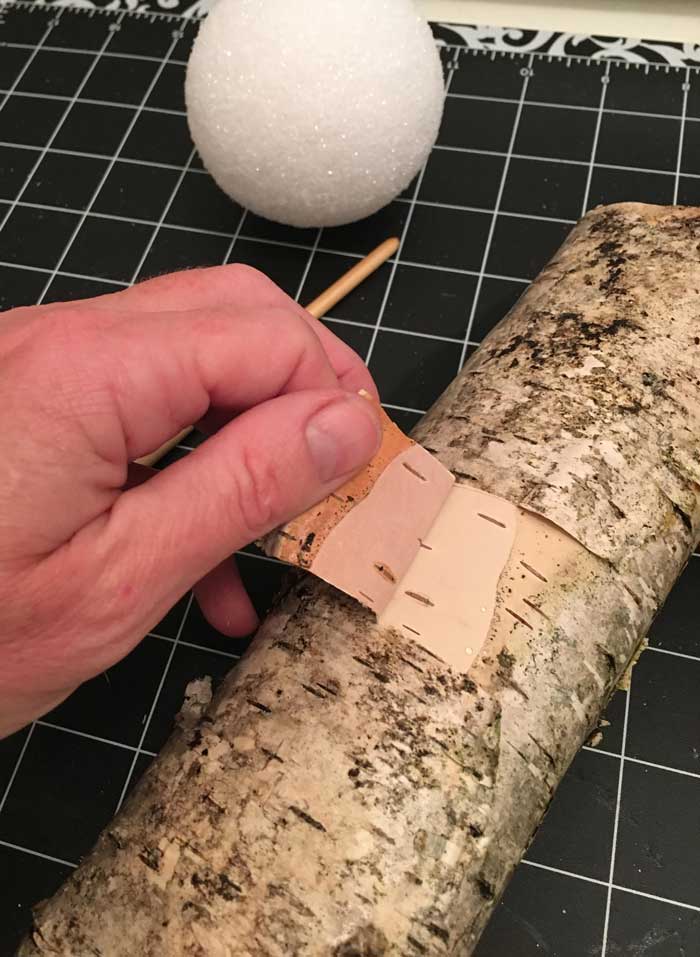
It’s pretty easy to peel even before washing. But, it’s even easier once the bark is wet from washing it.
More Variations Of Twine Ball Vase Fillers
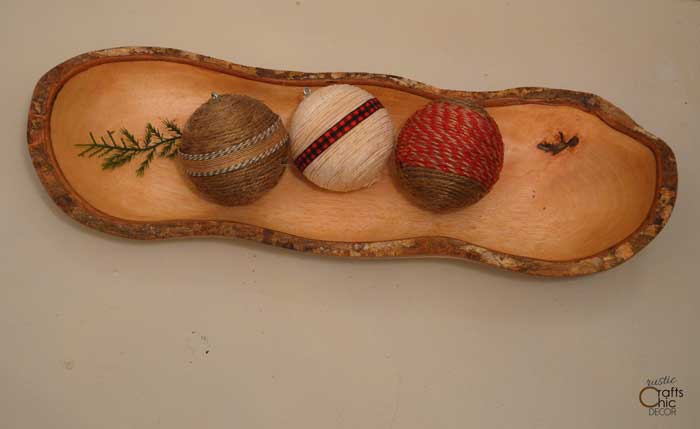
You can change up the look easily with different colors of twine or ribbon. Make coordinating patterns to fit on a tray together.
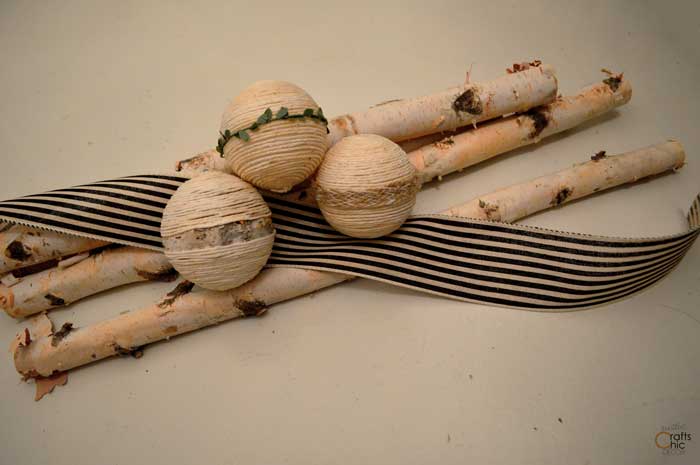
This is one of those crafts that is super versatile for home decor. The balls can be used for both ornament and vase fillers. Just loop a section of twine through the eye screws if you want to hang these on the tree. If you make these to hang on the tree, they would coordinate well with the vintage song sheet Christmas ornaments. And, to add a little sparkle to a bowl or vase, pair these twine balls with homemade snowballs.

Hello Renee, I just love your crafts. I made these same twine balls last year, but I really like how you added the embellishments. I’m going to make some with different embellished centers. So pretty for the holidays.
I wanted to let you know there is a site call Decor Steals. Just the other day I saw the iron twine holder and scissors for $19.99. They have quite a bit of neat farmhouse and other such items. Just a little FYI.
Again Thank you for sharing I sure do appreciate it. Take care, Stacy
Thank you! It is fun to change up the look with different embellishments. Enjoy your projects!