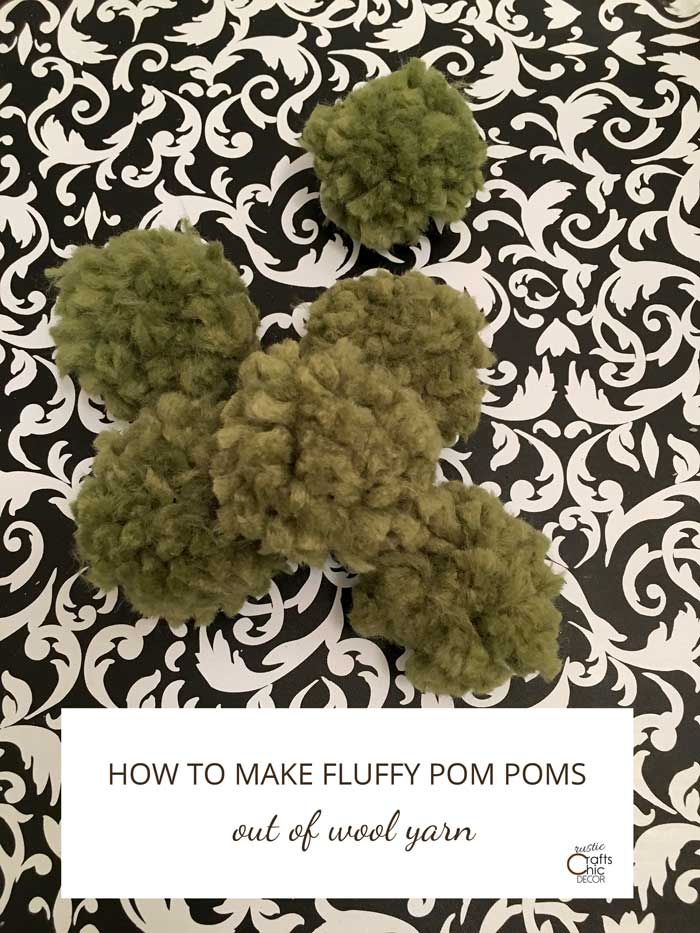
Sometimes rustic decorating can also be a little whimsical and fun. That is the look I was going for when I made a centerpiece for our cabin. Since cabin or cottage style tends to be a little more eclectic, I wanted my centerpiece to reflect that. So, instead of just putting birch branches in a vase, I opted to dress them up a little with yarn pom poms. Making a pom pom out of yarn is actually very easy and I’ll show you just how to do it.
Since my pom poms were going to resemble the size of flowers, I didn’t need them to be very big. However, you can use the same technique that I did for making a pom pom no matter what size you need. It all depends on what you wrap the yarn around. For this tutorial I’ll show you how to make a pom pom that is about and inch an half in diameter. This is a good size for most centerpieces.
The type of yarn that you use will also give a variety of looks to the pom poms. I wanted mine to be a little fuzzy and soft so I used a medium weight wool yarn. This yarn gives me more of the impressions of cotton stems found in nature. If you want more of a defined and crisp look, then use a thinner weight yarn.

DIY Yarn Pom Pom
Materials Needed
You don’t need much to make a pom pom but here is the list!
- medium wool yarn
- flat ruler
- embroidery thread or another strong thread
- scissors
- Wrap Yarn Around A Ruler
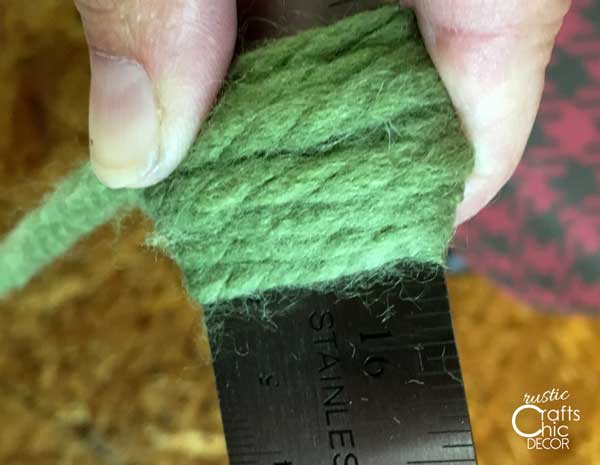
Using a ruler, wrap your yarn around it 16 times. I used a medium wool yarn. For thinner yarns, you may need to add some more wraps. Play around with it to see what works best.

- Slip Yarn Bundle Off Ruler And Tie In Middle
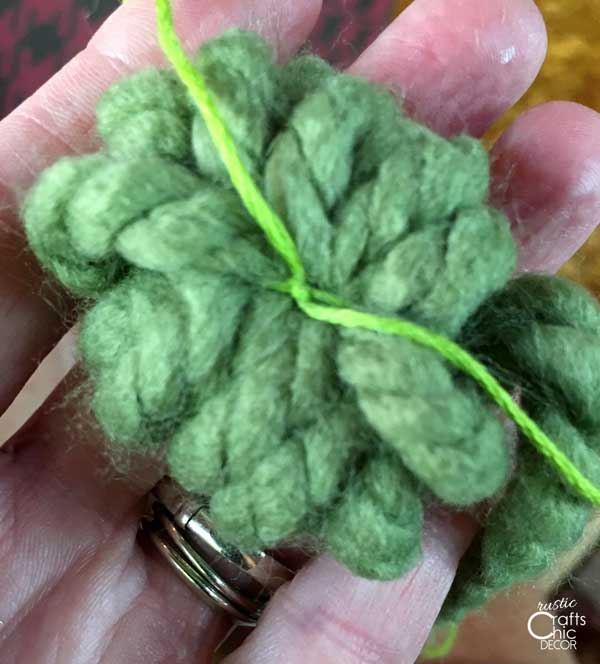
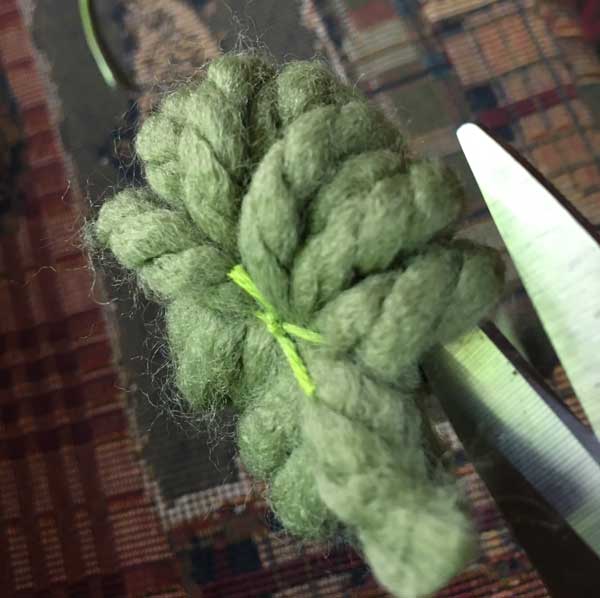
Carefully slip the wound yarn off the end of the ruler. I used a flat metal ruler which made sliding pretty easy. Then, to secure the yarn together, use thread to tie the yarn at the middle. For more strength, I used a thick strand of embroidery thread. Pull the thread as tight as you can and knot. And don’t worry, this thread will not show when the project is finished!
- Cut The Ends Of Thread And Yarn Piece
Cut off the excess length from the thread that you just tied. Then, cut off the yarn that is still attached to your skein. Cut it to about the same length as your loops.
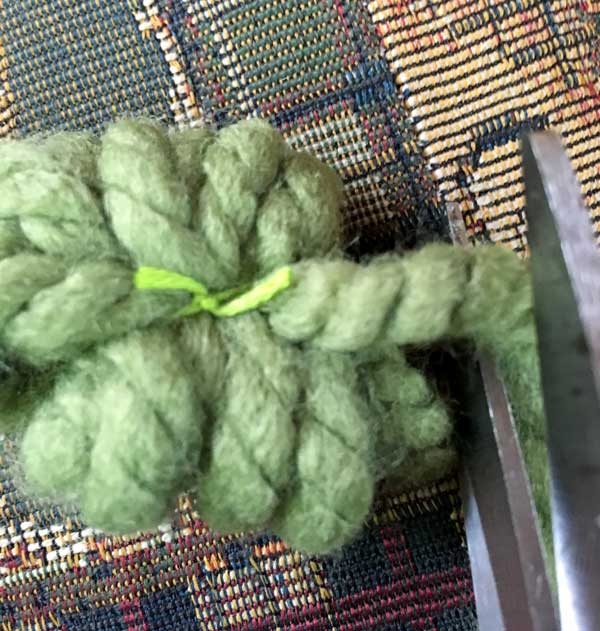
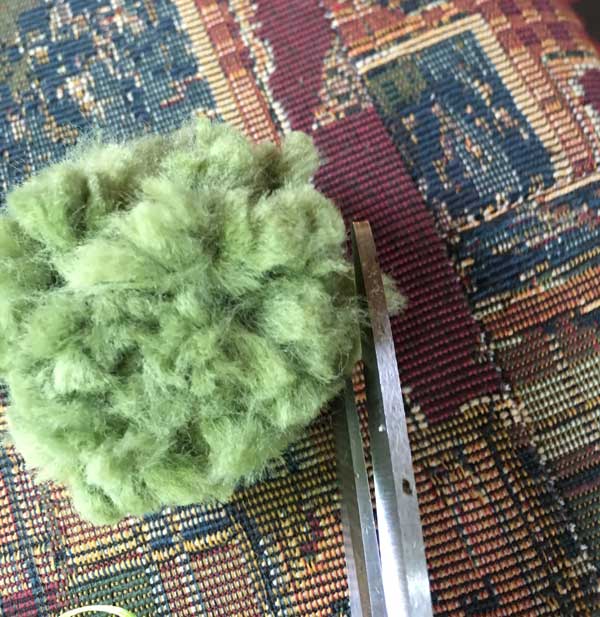
- Cut The Yarn Loops In Half
Slip the bottom part of your scissors through one side of the loops and then cut the loops in half. You can do this a little at a time and work your way through. Turn the bundle and cut other side.
- Trim And Shape
Once the loops are cut, not all pieces will be the same length. Now you can trim the ends to shape.
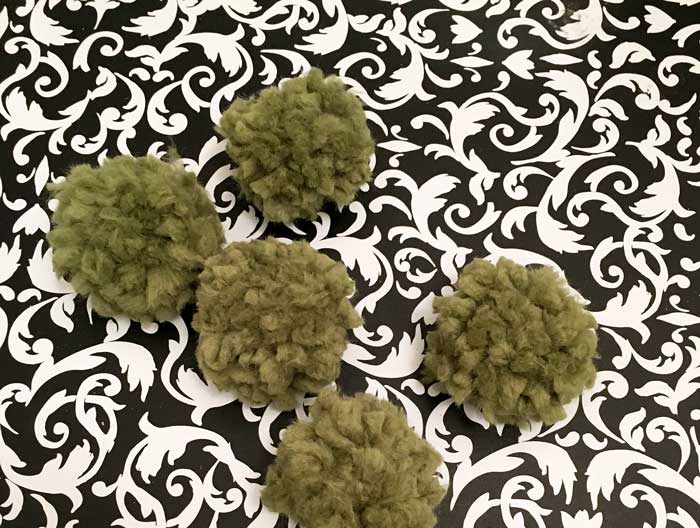
- Use Pom Poms In A Craft Project
You now have one or more pom poms to use in a craft project. I used mine to make a rustic centerpiece with branches.
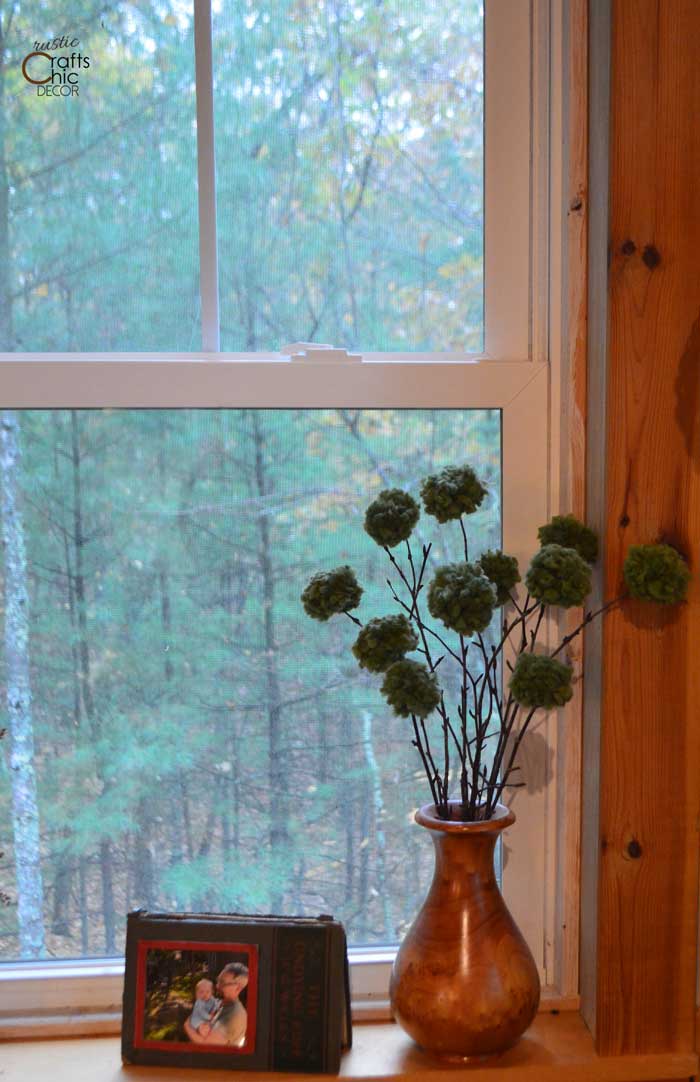
Use Pom Poms To Make A Rustic Centerpiece
It’s super easy to incorporate pom poms into a rustic centerpiece. Just gather up some thin, somewhat flexible, branches to use as stems. Birch branches work wonderful for this. Arrange the branches in your favorite vase. Then, simply attach the yarn balls to the end of the branches. Because the pom poms are so dense, they stay put nicely on the branch. There is no need for glue or anything.
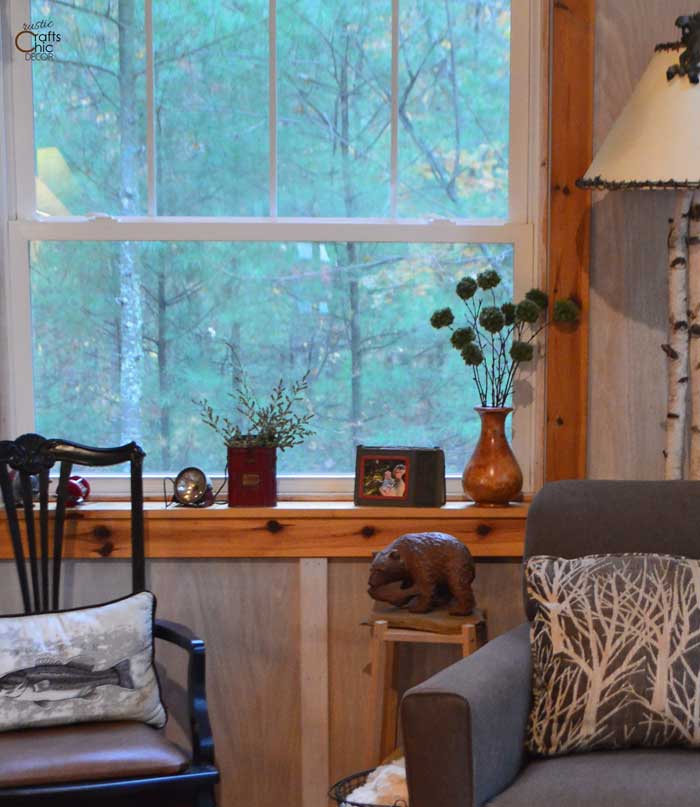
I like using green yarn for a fresh and whimsical centerpiece that reminds you of any other plant.
Although I really like the fresh color of the green in my space, it would be fun to experiment with other colors. Cream or white yarn would give a pretty and chic look to a centerpiece. An assortment of colors would create a bouquet of cheer. Since making pom poms is as relaxing as knitting, I can see myself making a large stash of different colored pom poms to use in future projects. They also would make great embellishments for gift packages instead of bows.
