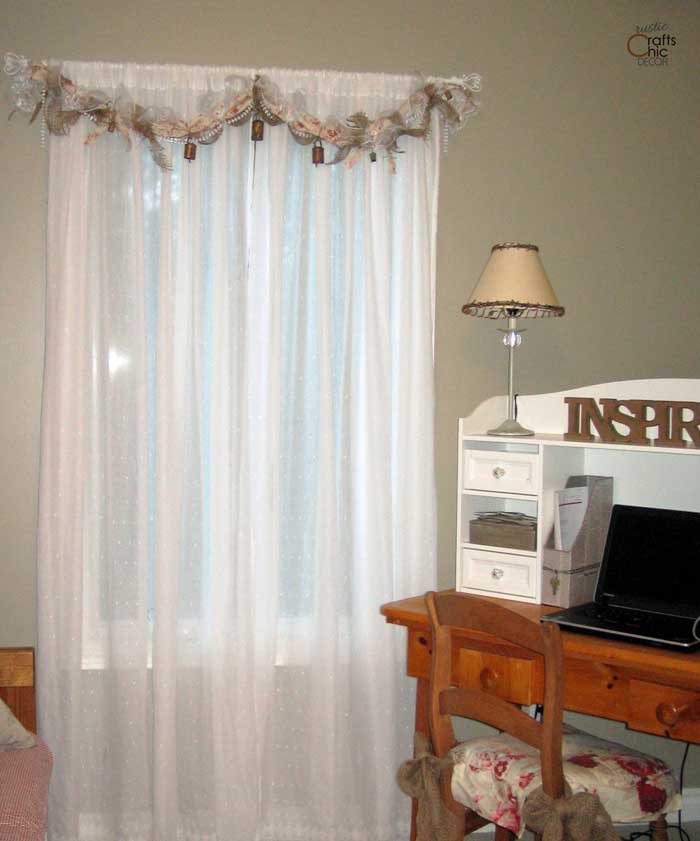
What could be more shabby chic than a window swag made from burlap, lace, floral fabric, pearls and vintage cowbells? That is exactly what I put together when I made, what I like to term, my rag swag, since the base and ties are made up with scraps of fabric. Of course, you can use a rag garland like this for more than just a window. Make one to top a mirror, chalkboard, or to line a mantel.
I had just purchased the cowbells and was looking for something fun to do with them. On top of that, I had a window, in my office, that was in need of a little dress up. It didn’t take me long to put two and two together and come up with this rag garland window swag.
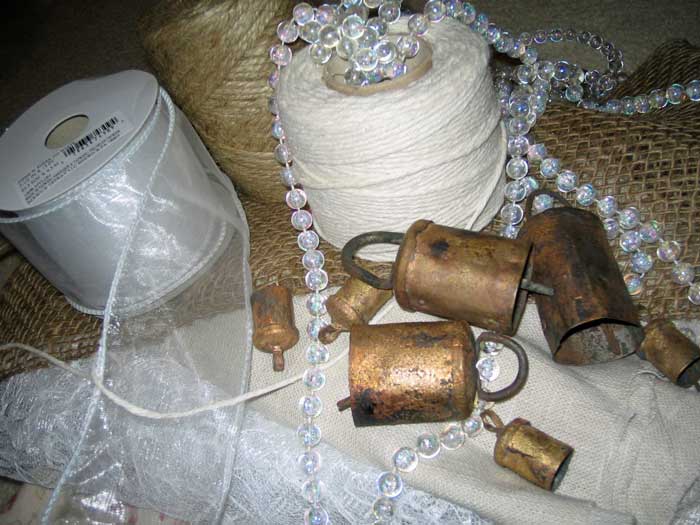
Since the cowbells were on the shabby side, I began looking around for items on the chic side. I found a string of faux pearls that I think were old Christmas tree garland. Then, I combined fabric remnants of burlap, lace and a coordinating floral that blended with my sofa pillows and chair cushion. I also threw in some shear white wired ribbon and some jute string.
How To Make A Rag Garland
My plan was to make a window treatment that was a completely no sew option. Everything is just simply tied together with sections of fabric, string or wired ribbon. It was super easy!
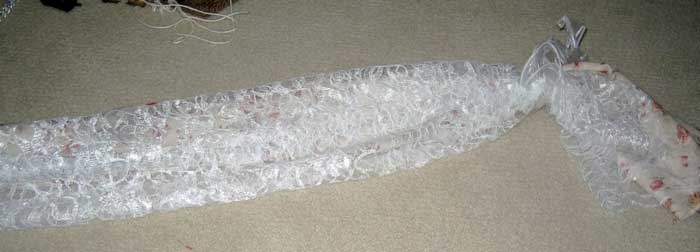
First, I cut to length two pieces of fabric, one floral and one lace, that were each about eighteen inches wide. I made the the width of my window plus a little extra for draping.
My plan from here on out was to just tie sections of ribbon, fabric and burlap garland all along the length of the two fabrics. This was to add different textures and colors and it also provided me with loops for draping my faux pearls through the length. As I tied a section together, I pulled and twisted the two sections of fabric apart slightly.
I also tied some jute string around the fabric and different sections, which is where I attached the cowbells.
For a little extra chic, I made a few silk roses out of gold wired ribbon. All I did was take a section of ribbon about eight inches long and began rolling it together. The center was rolled tighter and I made the twists a little looser as I went around. I placed a drop of hot glue, every few twists to secure the rose. I did secure these to the swag with just a little hand stitch.
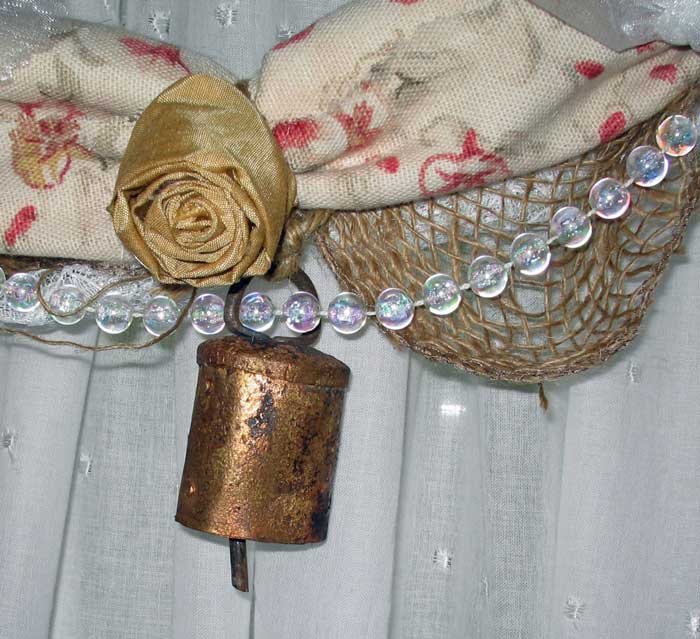
Here you can see the detailing of the rose and the shabby and chic elements together.
For more creative window treatment ideas, check out my post on DIY window treatments that are not fabric.
Very chic. Thanks for sharing idea with illustrations!
Hi. I am a new follower. Love this project! Stopping by to invite you to join, because your I am loving your posts. Have a wonderful day. Blessings!
Johnnie