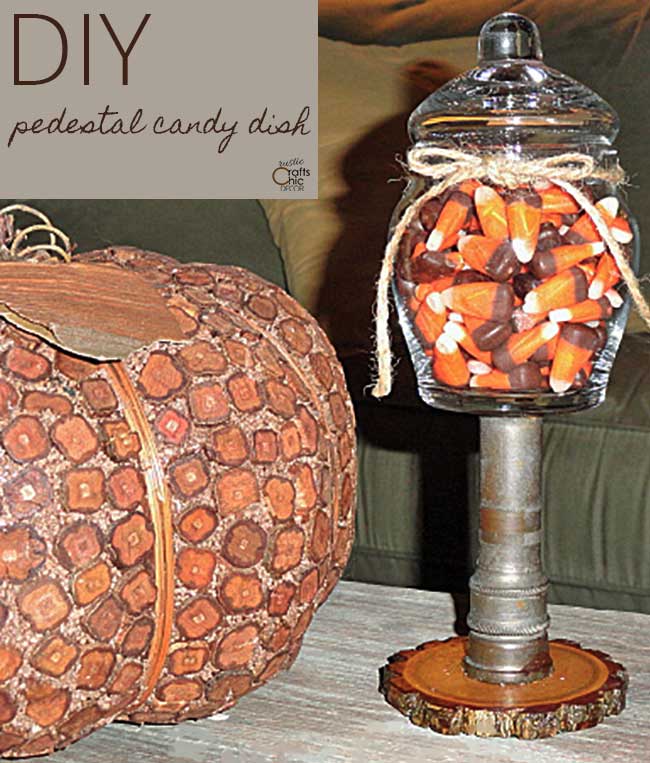
Why is it that elevated dishes seem to have so much more style? Maybe the extra height just gives them more visibility and prominence. Whatever the reason, I do know that a tablescape has more interest when the displays have varying heights. In a pinch, you can easily make your own pedestal dish by piecing together a few objects. I’ll show you what I did to make a pedestal candy dish. The tutorial is easy to modify with whatever objects you have on hand.
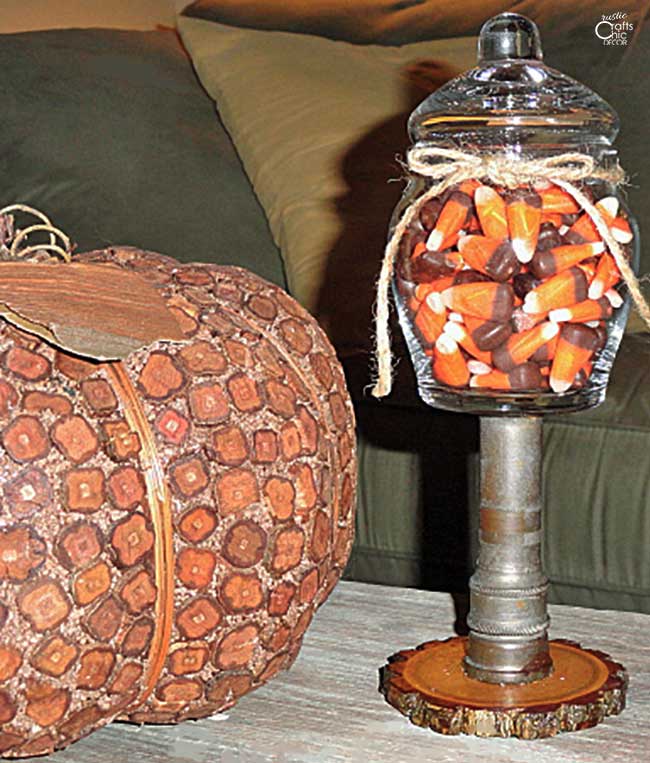
Although candy looks desirable in any kind of dish, a pedestal helps make it more noticeable. This can be helpful when you arrange a table with a variety of other items. Basically, you need something for a base, an item to add height, and the candy dish itself. I created a somewhat rustic pedestal candy dish using a vintage hose nozzle, a small pine tree slice coaster, and a plain glass candy dish.
This post contains recommended product links. If you make a purchase through one of the links, I may earn a small commission at no cost to you.
How To Make A Pedestal Candy Dish
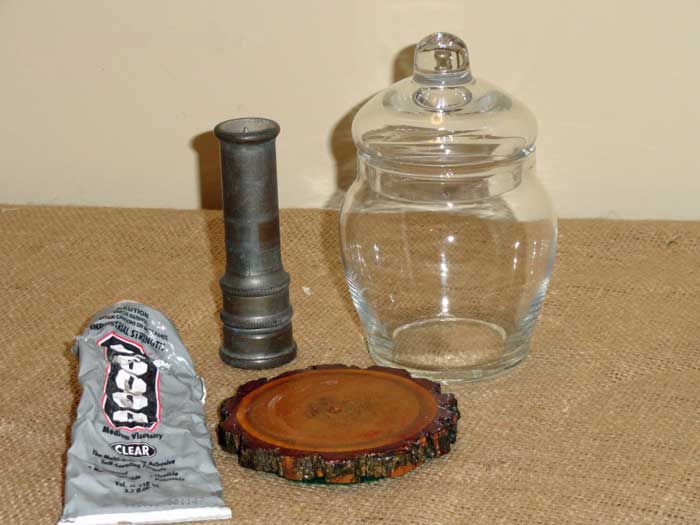
Gather Your Supplies
To make this pedestal candy dish super affordable, use items that you find around your home. Although you don’t necessarily need a base piece, items that add height but are more tippy could use the extra piece. My hose nozzle was too thin to make a strong pedestal for the dish. In this case, I simply needed to add something to spread out the weight. A pine coaster did the trick. For your base, think of things like coasters, plates, tiles, or wood.
Next, you will need to find an item to add height. Candlesticks, of all kinds, work wonderful for this. However, you can get really creative with whatever random item you might have on hand. My hose nozzle isn’t something you typically see in a project like this but makes a fun rustic industrial addition.
Finally, the actual dish can be anything from a plain candy dish, to a colorful bowl, or to even a mason jar. You just need the top to be sufficient for holding candy. Since I already had a small covered candy dish, I used that.
The most important supply, for assembling your pieces, is the E6000 craft glue. I absolutely love this glue. It provides a strong durable bond for a large variety of materials. This glue will keep your pieces together with no problem.
Assemble Pieces Together

First, apply glue to the bottom of your pedestal item. In my case it was the hose nozzle. Set it on the base, if a base is needed, and let dry. Since I didn’t have a lot of surface to work with, I applied my glue with a toothpick. I was worried that there wouldn’t be enough area to bond but it worked out perfectly.
Now, place glue at the top of your pedestal and set your dish on top. The glue does set fairly quickly and is easy to work with.
At this point, you can add some additional embellishments if you would like. I simply tied a strand of twine around the top of the dish.