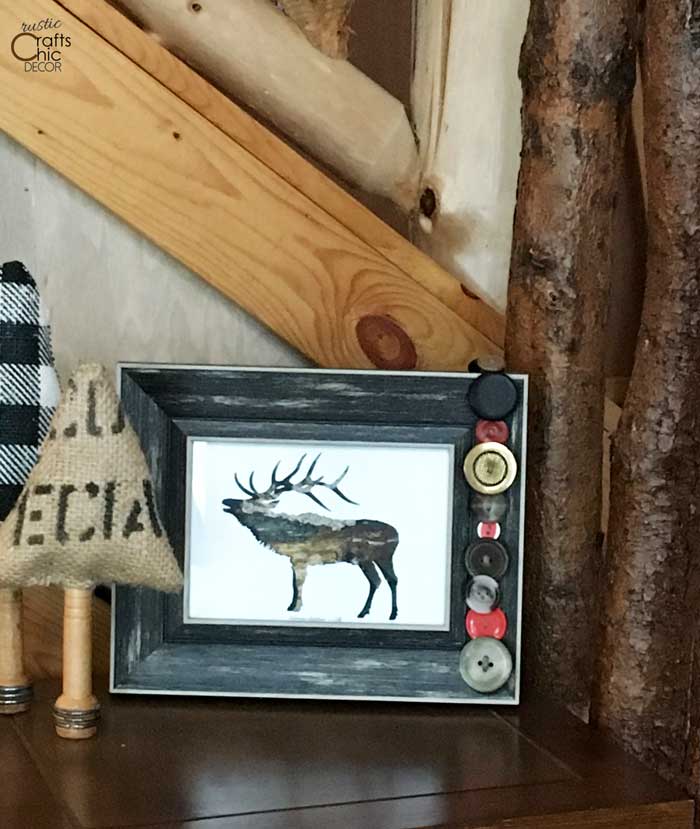
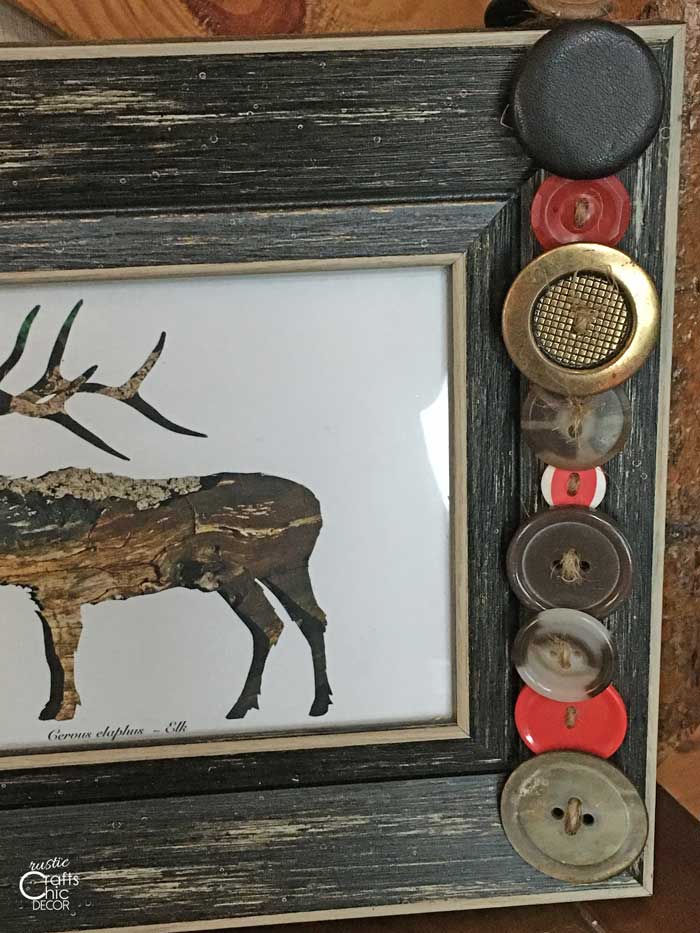
Garlands are a great way to dress up picture frames, mirrors, shelves and more. It’s kind of like wearing jewelry. Some decor accents can just use a little more embellishment or whimsy. You can make garlands out of most anything but one of my favorites is with vintage buttons. A button garland can take on a lot of different styles just by the type of button that you use. I was going for a rustic look so went with old button in browns, red, and a little flash of antique brass.
At first I was going to use vintage buttons all in the same color. I made a button garland once with all mother of pearl buttons. It was super chic and perfect for my Christmas tree. Because this garland would be shorter and meant to enhance a rustic picture frame, I chose more rustic looking buttons. We have a lot of red accents in our cabin so it made sense to add the color to my garland.
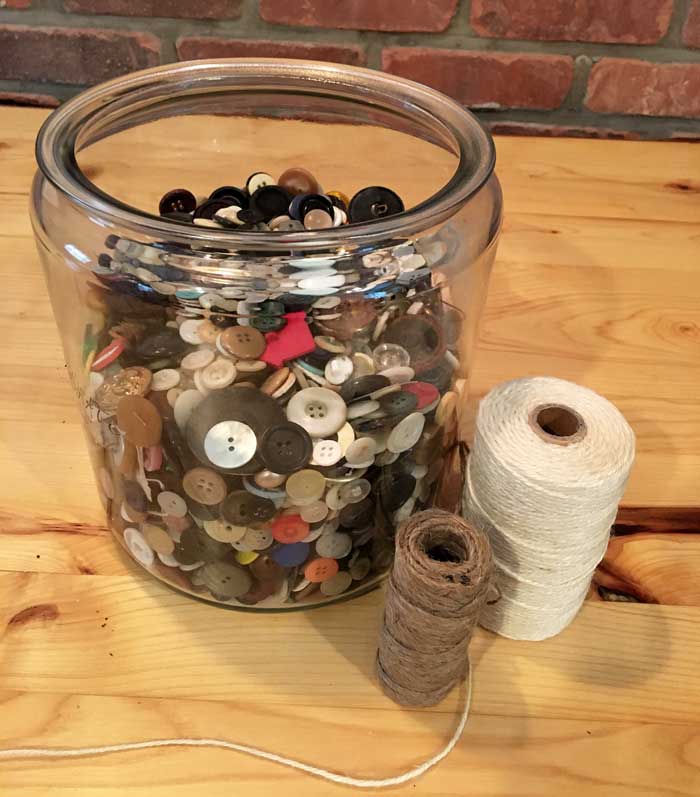
I have a pretty good size collection of vintage buttons that I found over the years at antique stores. It’s fun to sift through my assortment to see what works best for my current button project. Sometimes I find a special one that I’m pretty excited about.
If you don’t have your own collection of buttons, they are pretty easy to find in bulk to purchase. For instance, I found the following collection on Amazon for only $6.99.

There are several different assortments so chances are you will find the colors or styles that you want to use.
Once you have your buttons, it’s just a matter of stringing them on twine. Here is what you need to do!
How To Make A Button Garland
First you will need to cut a length of twine or other string to thread through the buttons. Cut your length about double what you want the garland length to be. Threading buttons takes up more twine than you think! I used a jute twine but a bakers twine would be a little easier to work with. Jute tends to shed as you are working. You could also wax the twine for smoother stringing.
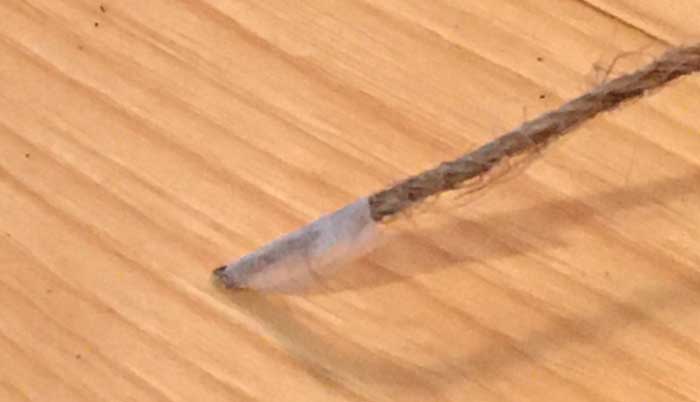
I wound Scotch tape around the end of my string so that it would insert through the button holes easier. At the other end of the twine, I tied a small knot to hold the buttons in place.
Just go up one button hole and down the other as you string each button. If you have a four hole button, just pick two holes. Some buttons just have a loop at the back which is super easy to string through. I pulled the twine tight after each button so that the buttons would overlap on each other slightly.
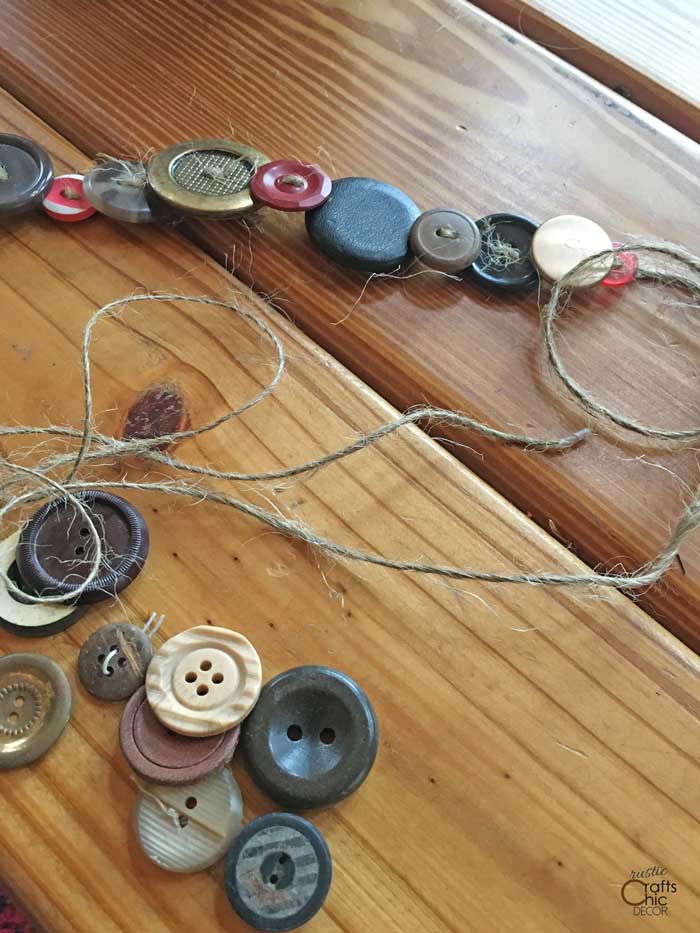
You can see how the twine is shedding but it’s easy to clean that up if wanted. Use a small scissors to trim the long wisps that you don’t want.
Here is what the stringing pattern looks like from the back of the garland.
Once you are happy with your garland length, tie a knot and cut off the excess twine. Now it’s ready to hang on your desired decor accessory.
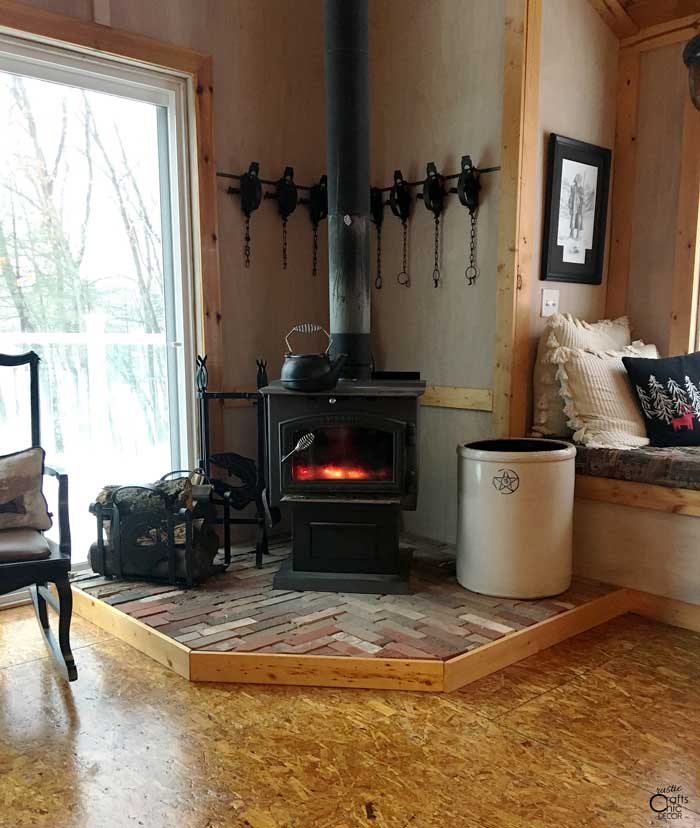
By the way, this project is super relaxing. I enjoyed stringing my buttons while sitting by a cozy fire in our cabin. Between the warm fire, soothing activity, and a hot cup of coffee, I made it through a cold and cloudy morning with some rewarding enjoyment.
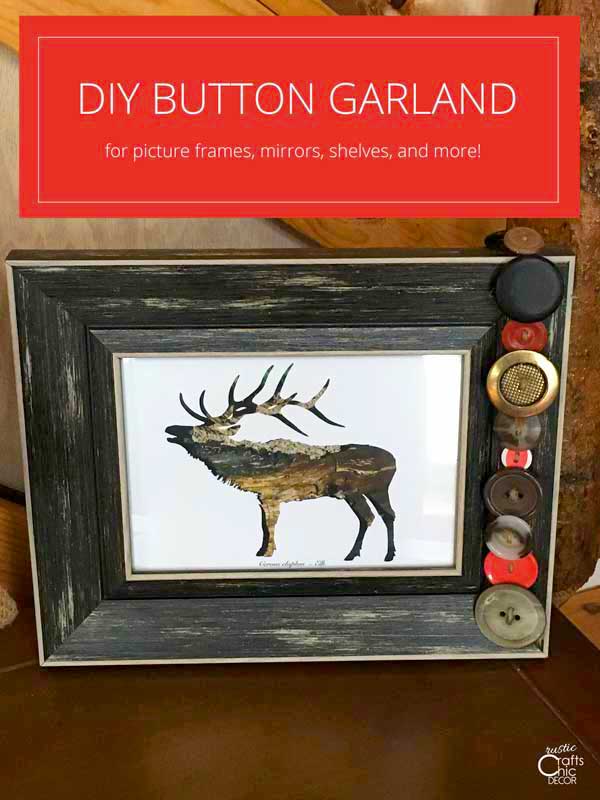
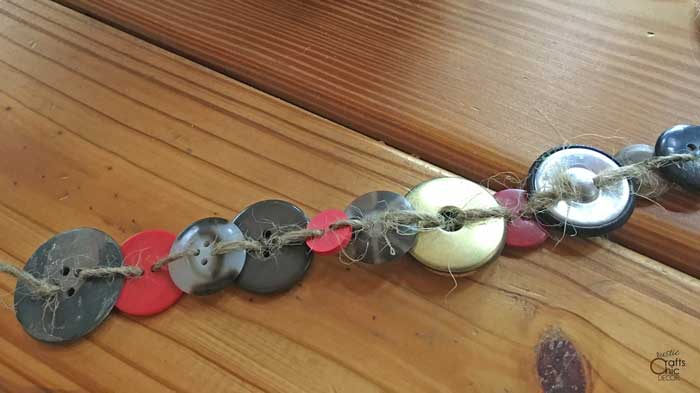
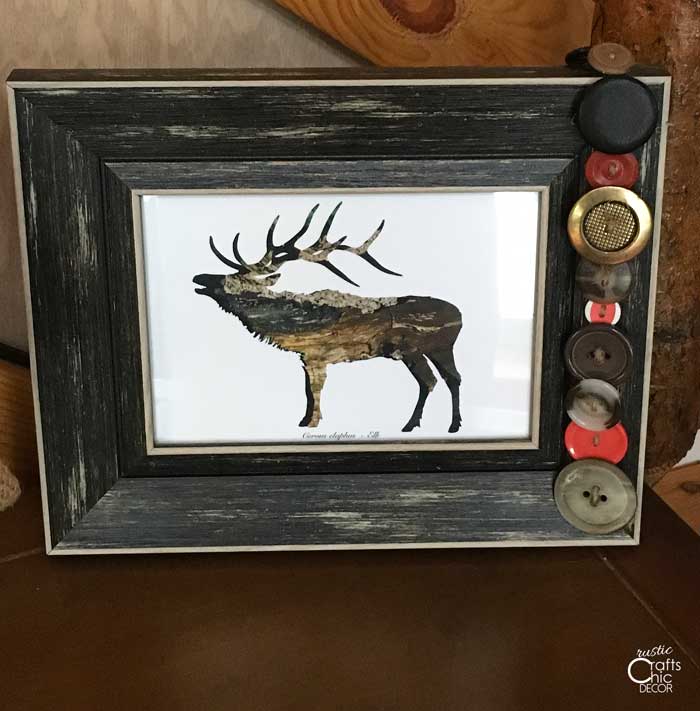
Finished Button Garland
Here is a close up to show how my button garland turned out. The different sizes and colors of buttons help to keep the look whimsical. For a more uniform look, just use the same size or color of vintage buttons.
I feel like I want to try and collect more metal or brass buttons. Decorating with metallics has become so popular and this is a fun way to add some chic shine.