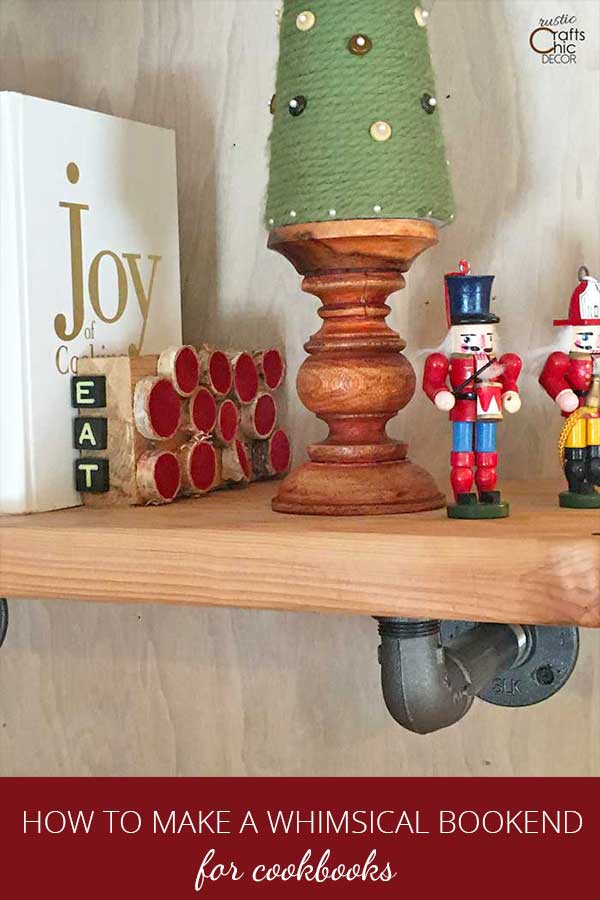
The other day, I had the bright idea to put up a shelf in our cabin kitchen to hold my cookbooks. I needed to get them out of a cupboard and displayed where I could see them. Since I also wanted the shelf display to be whimsical and fun, I decided to make some unique rustic bookends. So with some scrap wood, birch slices, and a few letter tiles, I whipped up a playful bookend that is still rustic enough for our cabin.
How I Made My Rustic Bookend
I originally was going to make a set of rustic bookends. However, I decided that I actually only needed one.
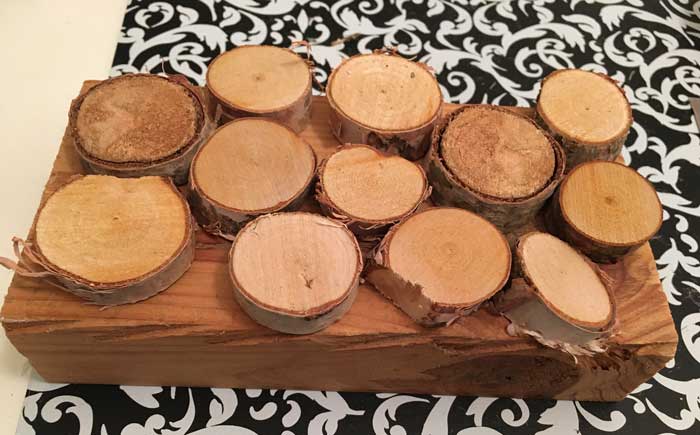
I’ve been looking for a way to use up some of my small birch branch slices. If I didn’t use them, I was going to end up losing them in heap of forgotten supplies. And, I really don’t have room for my heap to get any larger! I only have so much space for organized supplies.
A Creative Layout For The Wood Pieces
I figured that the branch slices would be the perfect way to dress up a scrap piece of 2×4! The varying heights and sizes of the slices made for an interesting design. To jazz things up even more, I added some red paint to the inside of the wood slices.
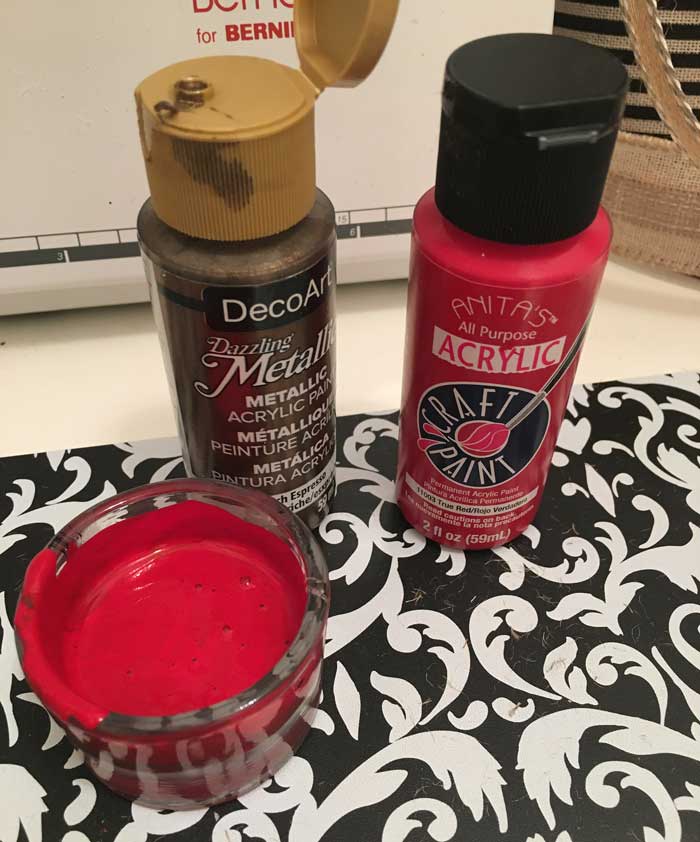
Added Color
In my craft supply, I had a true red paint but I wanted something a little darker and warmer. That was easy to accomplish by mixing in a little metallic espresso paint. It just took a few drops to warm up that red.
With the slices being painted, it reminded me more of polka dots – which I love! I feel like polka dots just make anything more playful and fun. Now it was just a matter of securing my design to the wood.
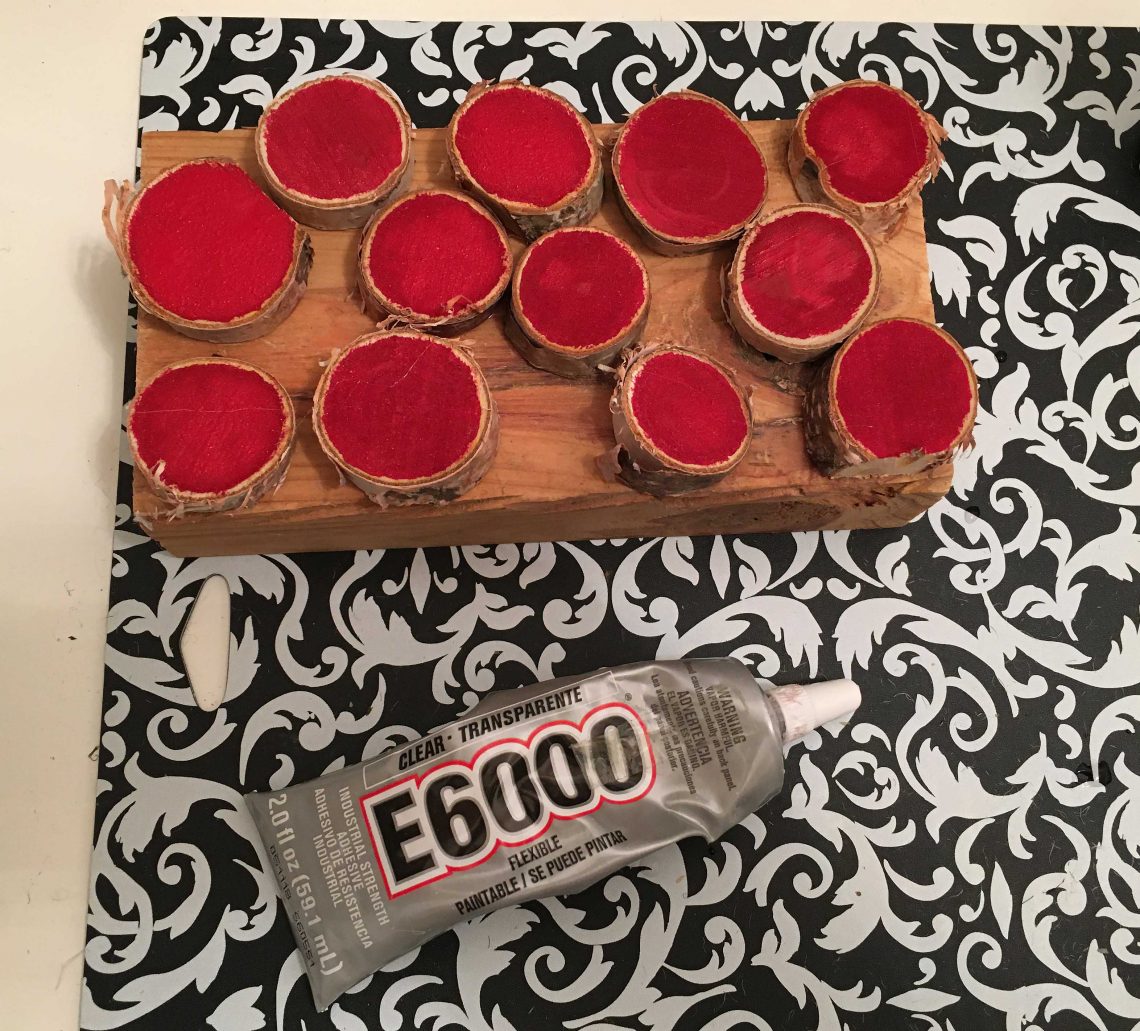
I used my trustee E6000 craft glue to hold the branch slices in place. This glue may have been a little overkill for the purpose but it never ever fails me.
Design The Outside Edge
Once the visible side of the bookend was finished, I started playing around with the outside edge that would show. I found some old game tile letters and used them to spell the word “eat”. This seemed appropriate since the bookend was going to be for cookbooks.
Attach The Base
The only thing that I had left to do was to attach a base to the wood that would slide under the books. All I did for that was cut out a section of craft tin that I had. I cut it at the same length as the 2×4 and attached it to the bottom of the wood with more of my glue. Once dry, my bookend was done!
My Finished Whimsically Rustic Bookend
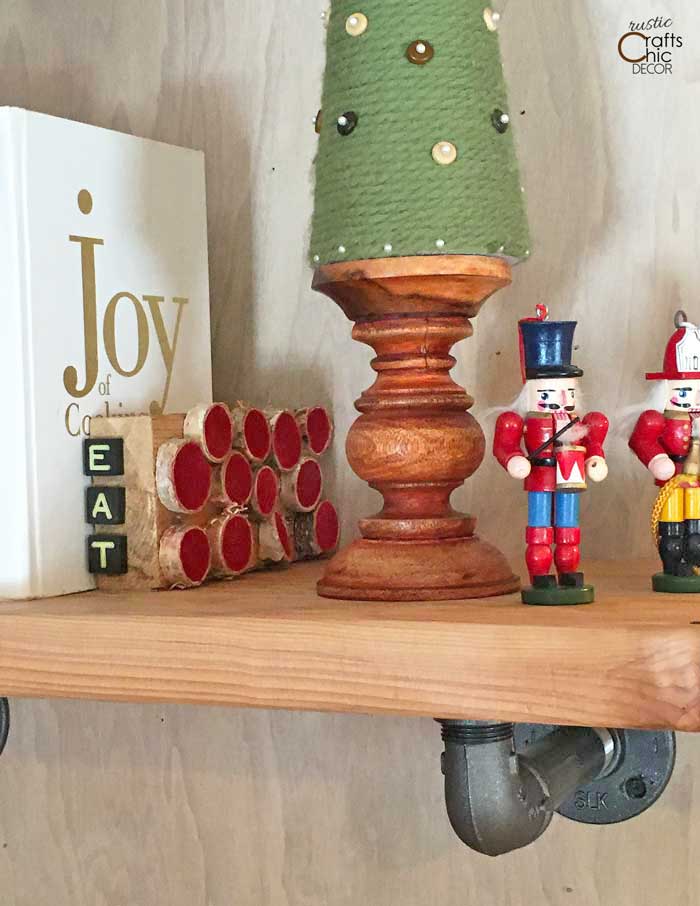
Rustic bookends don’t have to be too serious. I like this one especially paired with some of my more playful Christmas decor.

A fun and relaxed wall deserves some cheerful accessories.

I should mention that we made a shelf using the same rustic materials that we did when we updated our rental home kitchen. The wood is inexpensive but chunky and rustic.
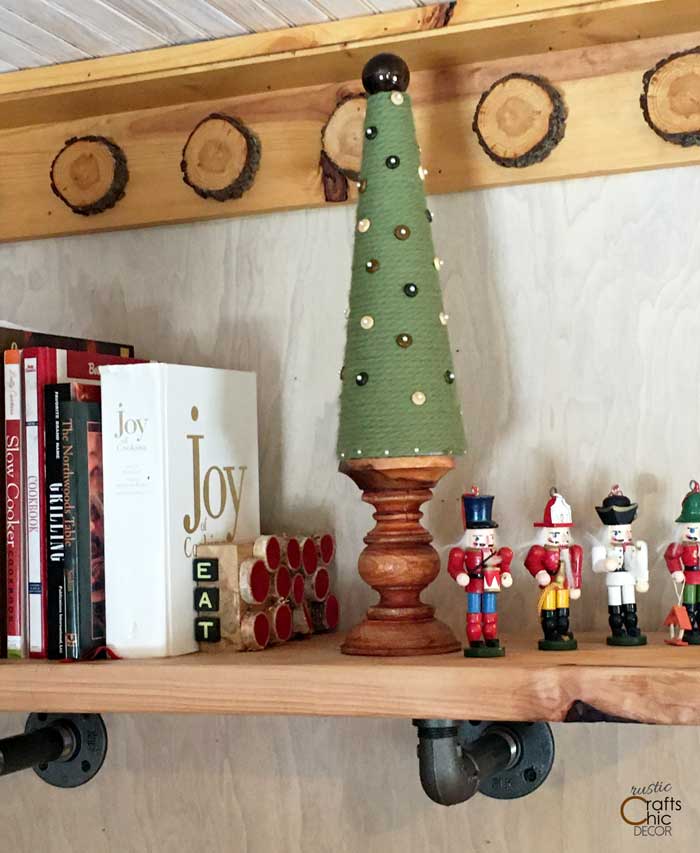
My polka dot theme carries over to my DIY cone tree as well as the trim above with tree slices.
Next up on my list is taking down some of those cookbooks and baking/cooking up a storm for the Christmas holiday!