Thanksgiving is more than just a huge feast with family. Although, that is a great part of it! It is also a time of reflection and thankfulness. It’s a time to show gratitude for all the wonderful blessings that we have. To help keep the focus on what Thanksgiving means, you can create your own thankful tree for your family.
A thankful tree is a new trend that many are doing at Thanksgiving. You create a tree, in some way, and then attach leaves with the words of what you are thankful for. Each member of the family can take part in attaching their own leaves. It’s a nice reminder of all that good that we have.
These trees can be as big or small as you want them. They can be three dimensional or flat. It all depends on where you want your focus to be. Since we spend a lot of time at the Thanksgiving table, I like a thankful tree that acts as a centerpiece.
With the focus at the center of the table, the tree and all of it’s thankful leaves will spur on a lot of good conversation. I’m going to show you two different versions of trees that I have done.
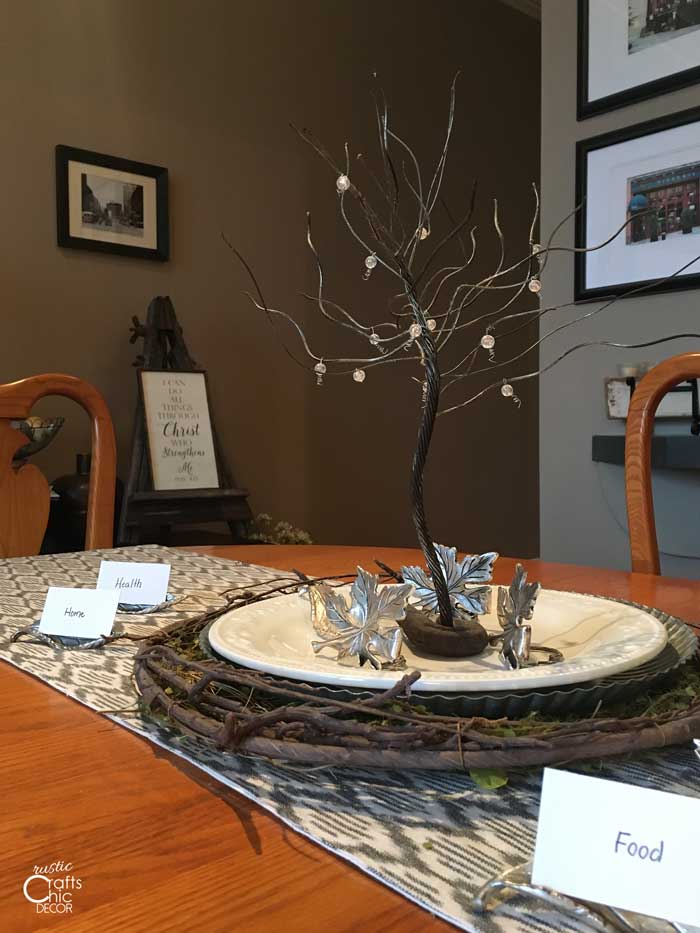
Elegant Silver Thankful Tree Centerpiece

This tree was formed from an old cable. Using pliers, the cable strands were twisted away from the center to create the branches. Then, my husband welded the tree to an old metal hook so that it could stand on it’s own. I added some pearl beads to the branches to glam it up just a bit.
I could have hung paper leaves from the branches for a thankful tree. However, I happen to have some silver leaf place card holders. Since most leaves are on the ground anyway during the Fall, I thought it was appropriate to scatter the leaf place card holders around the base of the tree. Then, everyone can just write on a piece of cardstock and place it on a leaf.
If you want to do something similar you can purchase the leaf place card holders. We found our cable at a metal scrapyard. Metal scrapyards are a great place to find cool materials to make things with. You just have to be thinking creatively while shopping around!
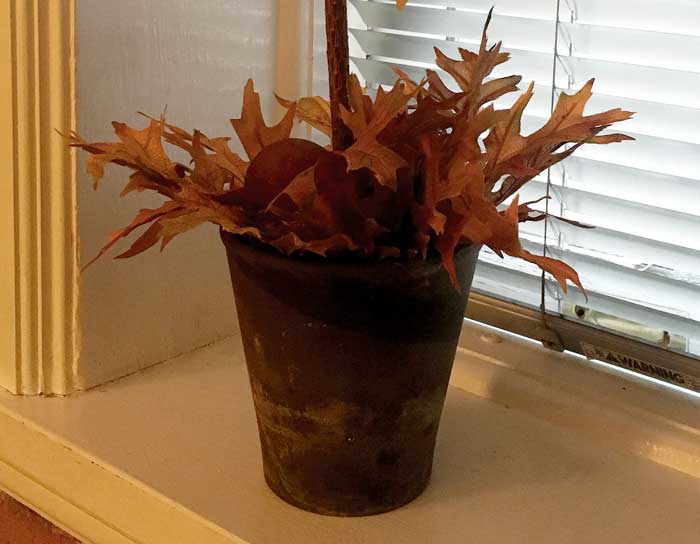
A silver tree, like this, is nice to use as a centerpiece for an elegant holiday meal. I have also created a rustic version of a thankful tree. This one, I placed on my window ledge like I would any potted plant.
Rustic Thankful Tree
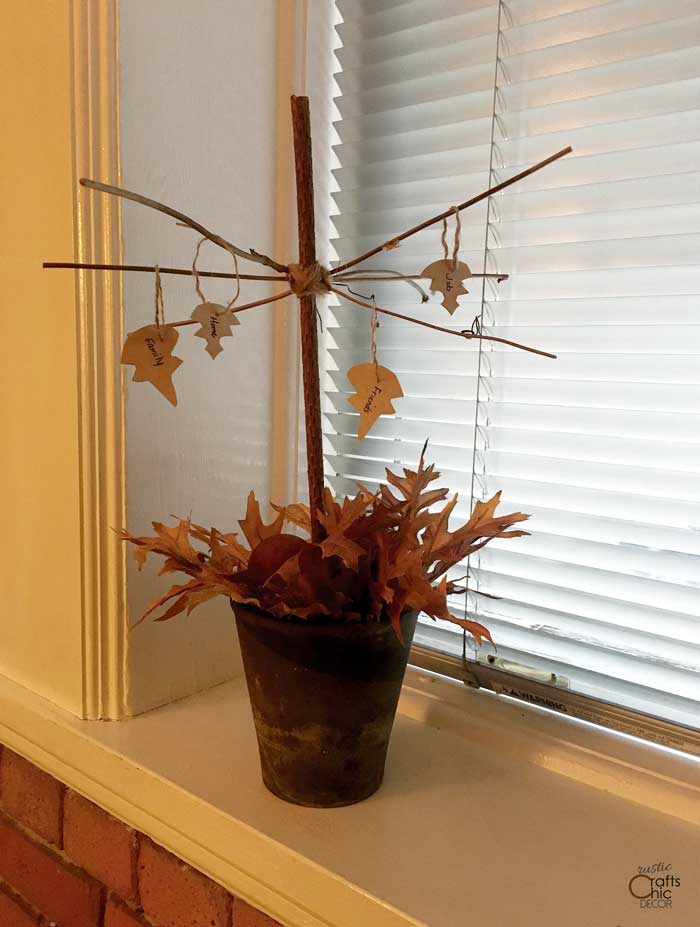
This thankful tree craft is a simple design and very easy to put together. You only need a few supplies and it takes just minutes to make.
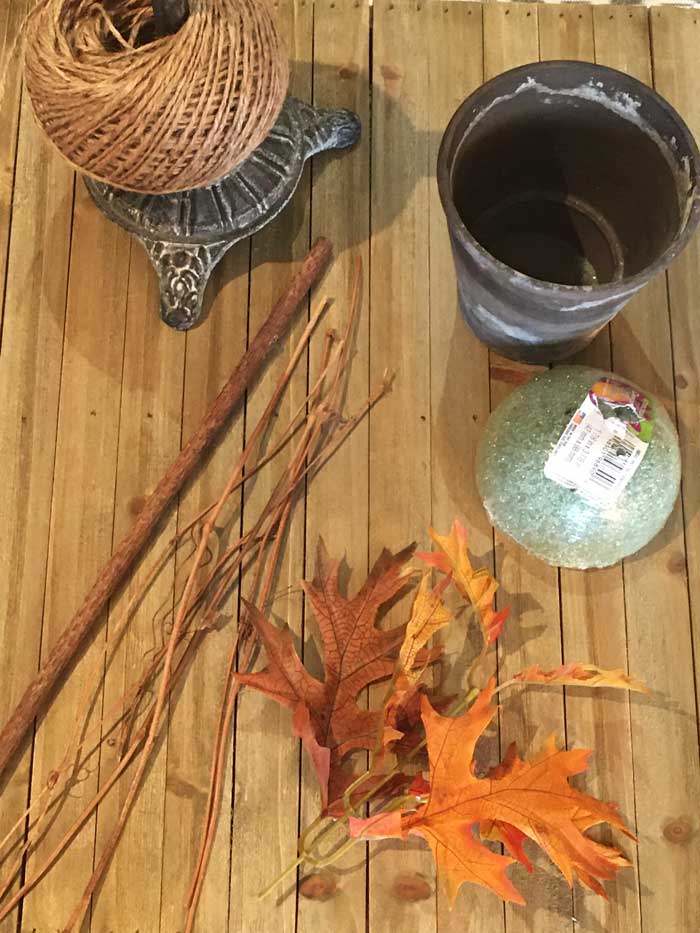
Supplies Needed
- one eighteen inch thick branch
- three or more sixteen inch twigs
- twine
- Kraft paper
- clay pot
- florist foam
- faux leaves
Instructions
Time needed: 10 minutes
Thankful Tree
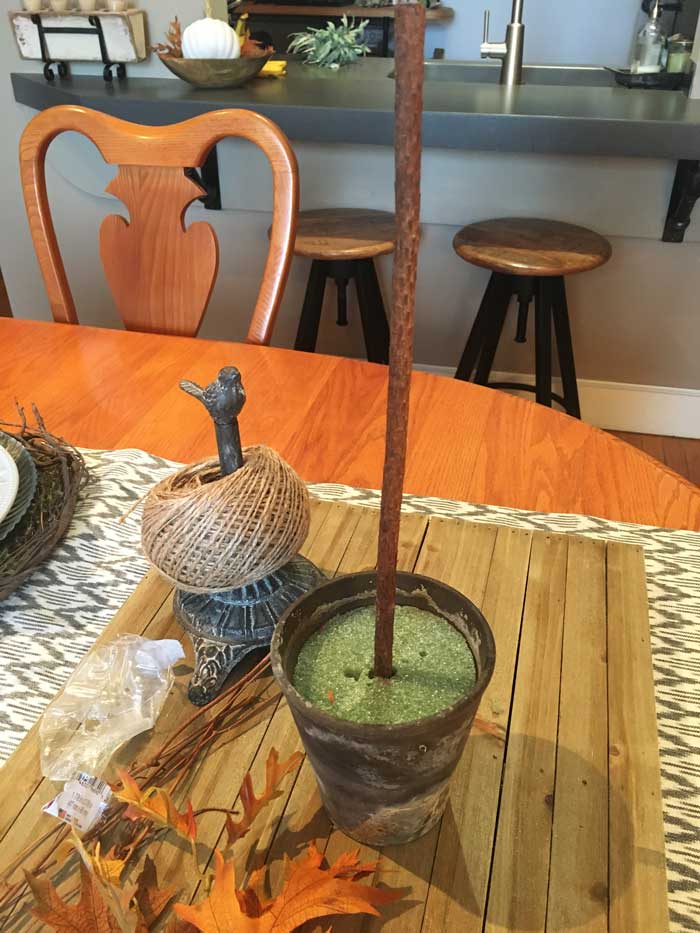
- Insert Large Branch Into Center Of Florist Foam
After placing your foam inside your pot, insert the large branch into the center. Depending on the foam you use, you may have to trim it down to fit the pot.

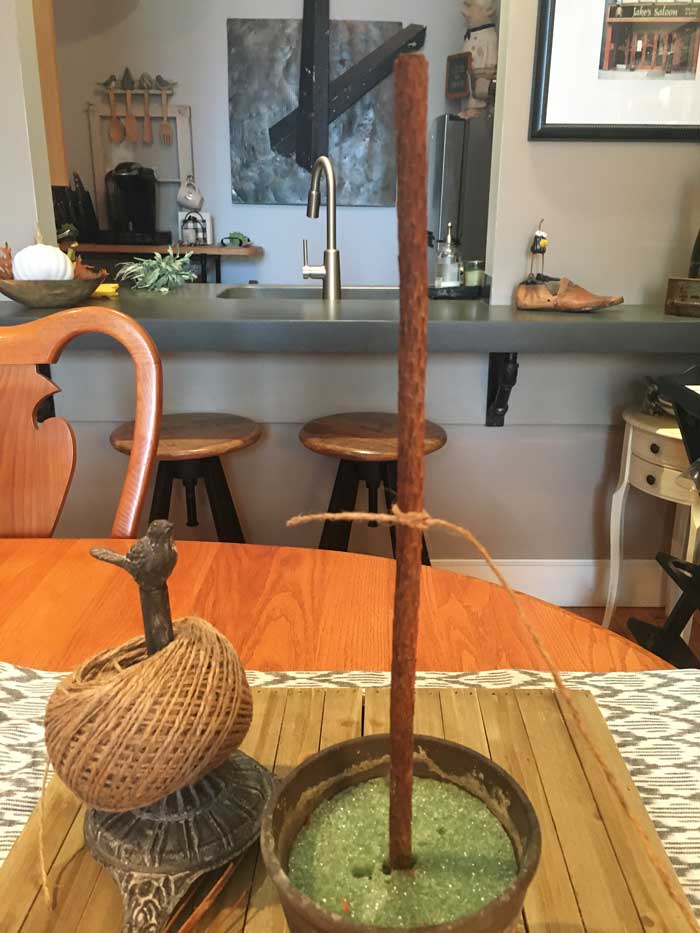
- Tie A Section Of Twine Around The Middle Of The Branch
Cut a long piece of twine for wrapping the twigs. About two feet is probably good. Don’t worry about cutting the short end after tying.
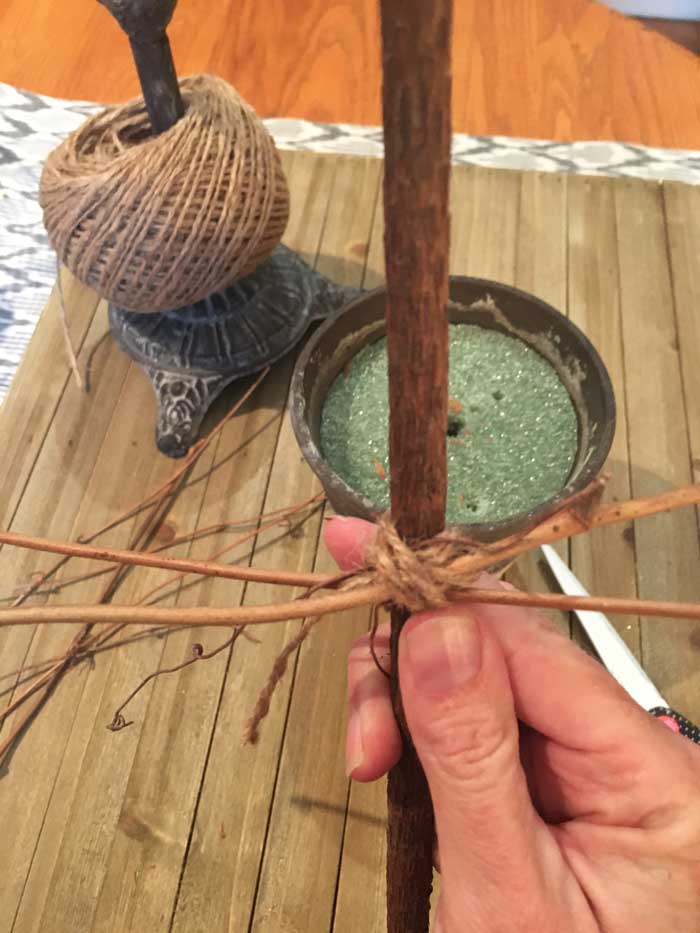
- Attach The First Two Twigs To The Branch
Take two twigs and hold them at the center of the branch by the twine. To attach the twigs to the branch, begin winding the twine around the branches, weaving between the two as you wrap. It may be easier to take the branch out of the pot while attaching the twigs.
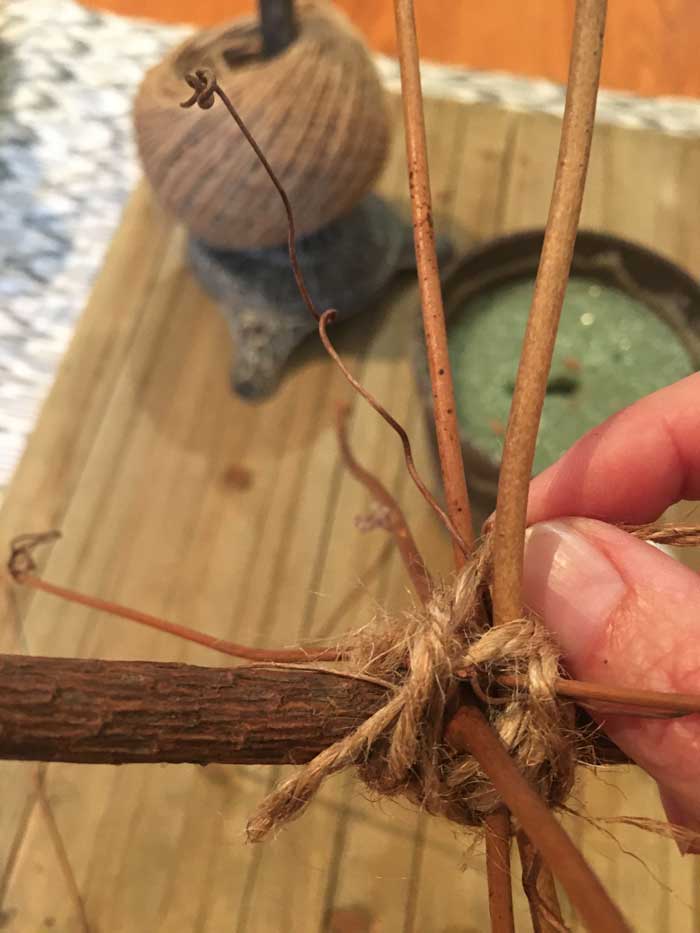
- Continue Adding Twigs Until You Have The Desired Amount
Now add the rest of your twigs. Place them perpendicular to the rest and continue winding. I only used a total of four twigs but you may want to add more to have more space for hanging leaves.
- Tie Off Your Length Of Twine To The Short End
Once all your twigs are attached, you can tie off the length of twine. Tie the long end to the short end in a knot then trim the ends close to the knot. You could add a dot of hot glue to secure further.
- Adjust Twigs To The Shape You Want
At this point, you may want to play around with the position of the twigs. To start, you will want to slide the knotted twine and twigs to a position closer to the top of the tree. Tilt some of the twigs upward and spread them out just a bit. The twine should be secure enough to hold them in place as you manipulate the shape.
- Reinsert Your Thankful Tree Into The Pot
Once you are done playing around with the shape, reinsert the tree back into the pot. For extra hold, apply tacky glue to the bottom of the branch before inserting.
- Insert Faux Leaves Into The Bottom Of The Bottom To Cover Foam
Fill the bottom of your pot with faux leaves by inserting the stems into the foam.
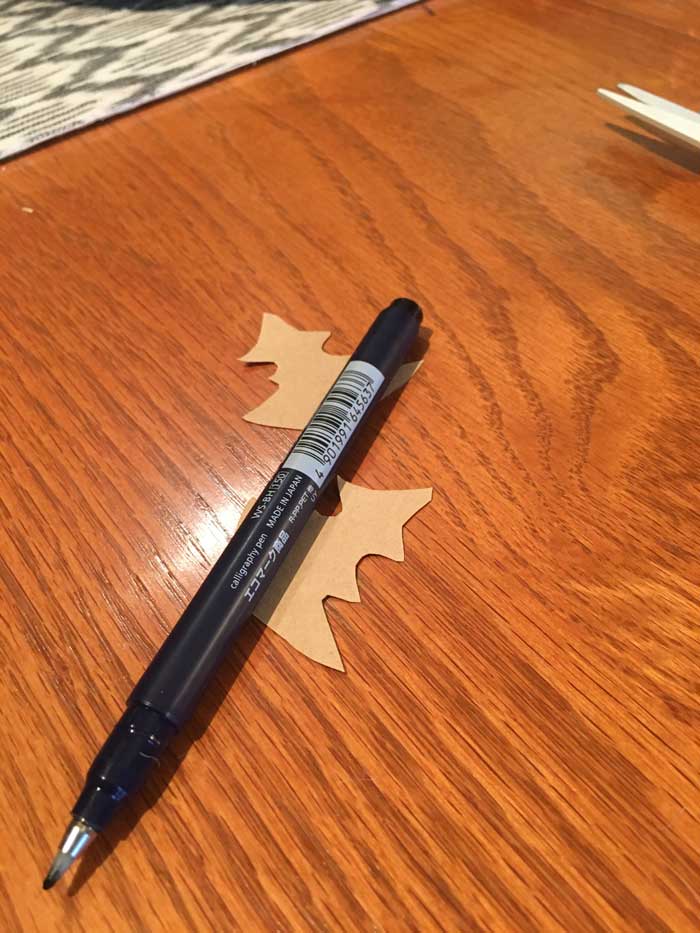
- Cut Out Leaf Shapes From Craft Paper
You can either use a stencil to draw leaves onto Kraft paper or simply had draw them like I did. After drawing, cut out your shapes and punch a small hole in the tops. Insert a small section of twine through the hole and tie in knot. This is how the leaves will hang from the tree.