If you’ve been following my blog, you know that I love to make things out of old throw away junk! When it comes to making inexpensive home decor, recycling is a fantastic option. That’s why when I was getting ready to throw away an old light bulb, a light bulb went off in my head! Because a standard light bulb already has the shape of a pear, I figured why not make it into a pear ornament. It would be a cute addition to the Christmas tree.
I quite often see pear Christmas ornaments for sale in stores. It’s probably because pears are a popular fruit to eat during the Christmas holiday. Also, everyone knows that a partridge in a pear tree must be a desired Christmas gift!! However, I’ll settle for just the pear.
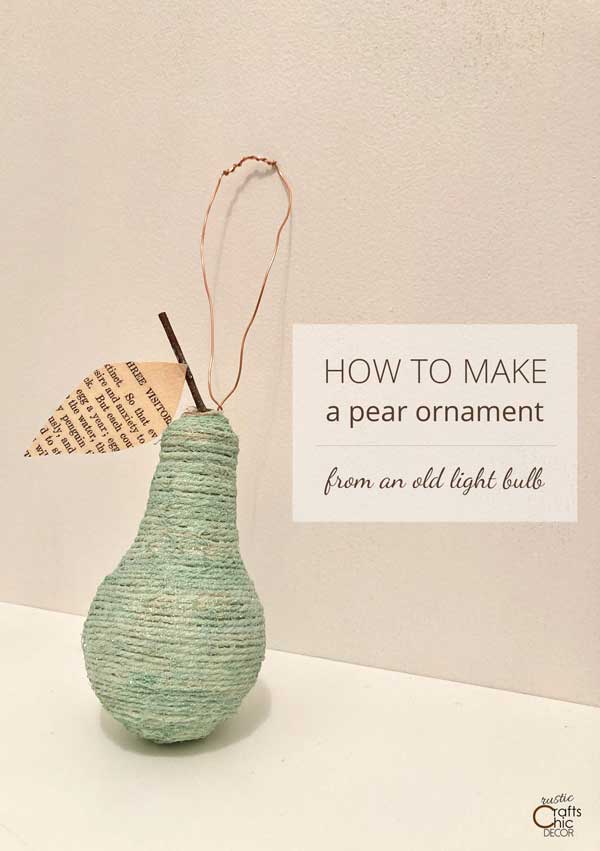
Anyway, to make an easy pear ornament, you just need to start off with an old light bulb. I then added twine, paint, glitter, a branch, and a book page leaf to mine. I’ll show you how easy it is to put together. If you like the idea of making a pear but don’t want it for an ornament, you could simply make a few to put in a bowl on the kitchen counter. Either way, this project is simple, inexpensive, and fun.
For a similar idea, check out how I made twine ball ornaments or vase fillers using styrofoam balls and twine.
This post contains recommended product links. If you make a purchase through one of the links, I will earn a small commission at no extra cost to you.
Pear Ornament
Now is a good time to go around and check out all of your lights for burned out or dim light bulbs. Put in a fresh light bulb and use the old one to make this pear ornament.
Other Things You Will Need
- white twine
- cottage green milk paint
- Glamour Dust glitter
- Mod Podge decoupage – I used gloss finish
- small paint brush
- copper jewelry wire for hanging
- small branch
- book page leaf – see how to make one from by leaf wreath tutorial
How To Make The Pear Ornament
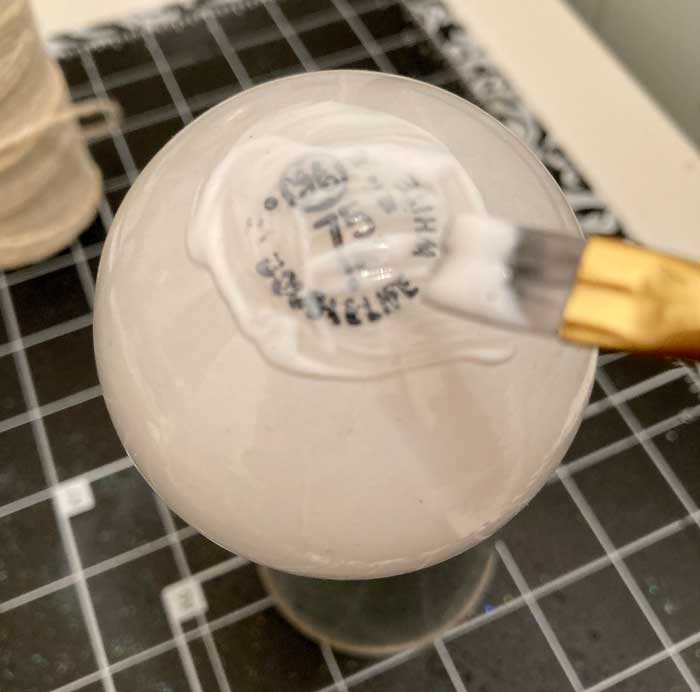
Step One: Adhere Twine To Light Bulb
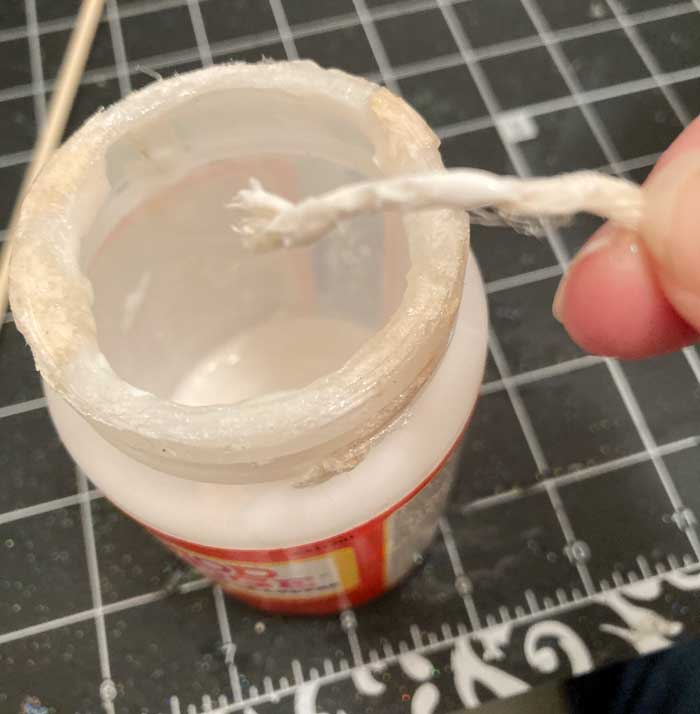
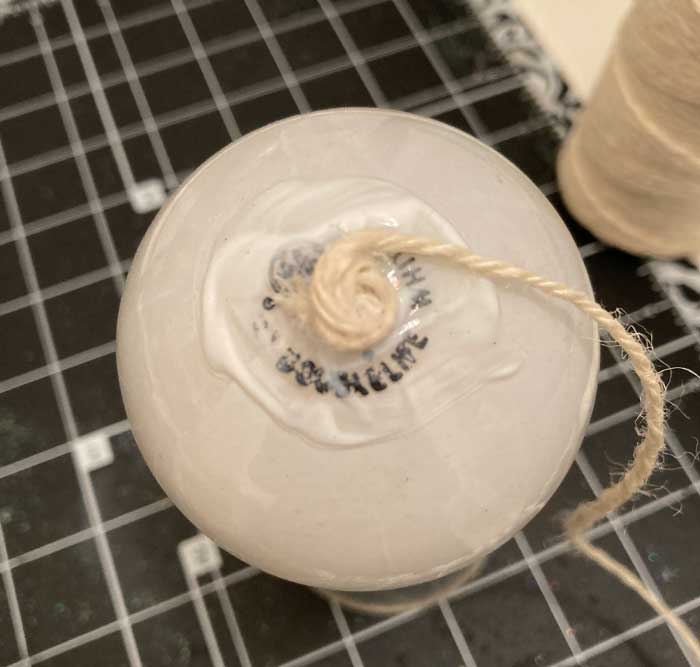
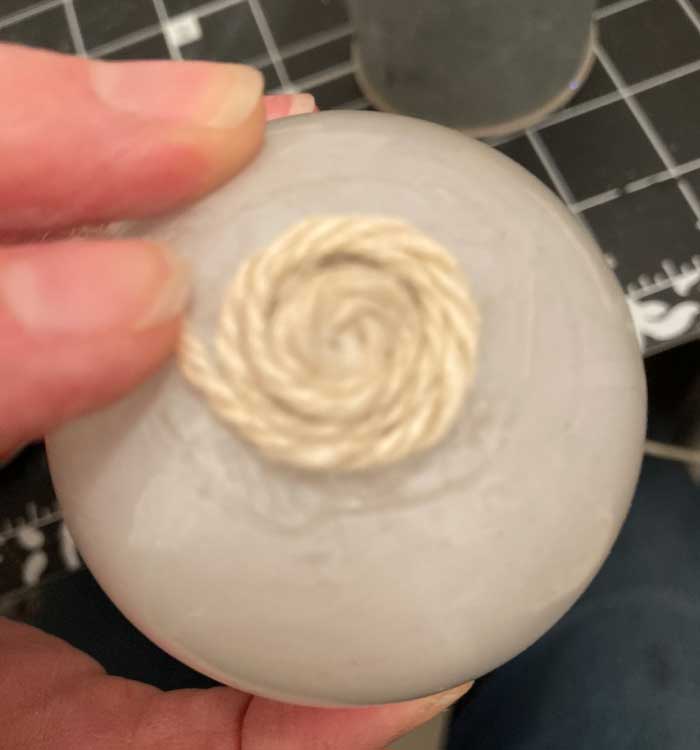
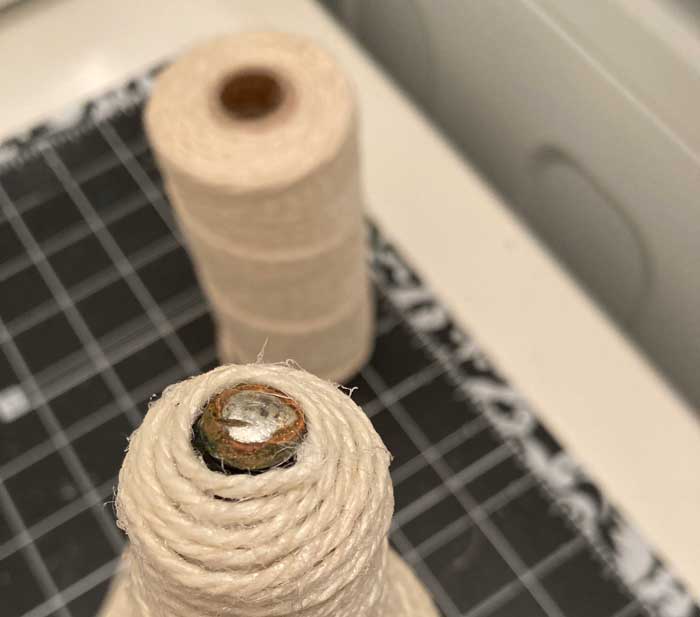
Apply a small amount of Mod Podge to the bottom of the light bulb. Leaving your twine in the spool, dip about an inch of the twine end into your Mod Podge. Now, start by winding that end into a small circle. Press this circle of twine onto the bottom of the light bulb that is coated with Mod Podge. From this point, you can just continue winding the twine around the light bulb.
Your fingers will get a little messy so keep some paper towel nearby!
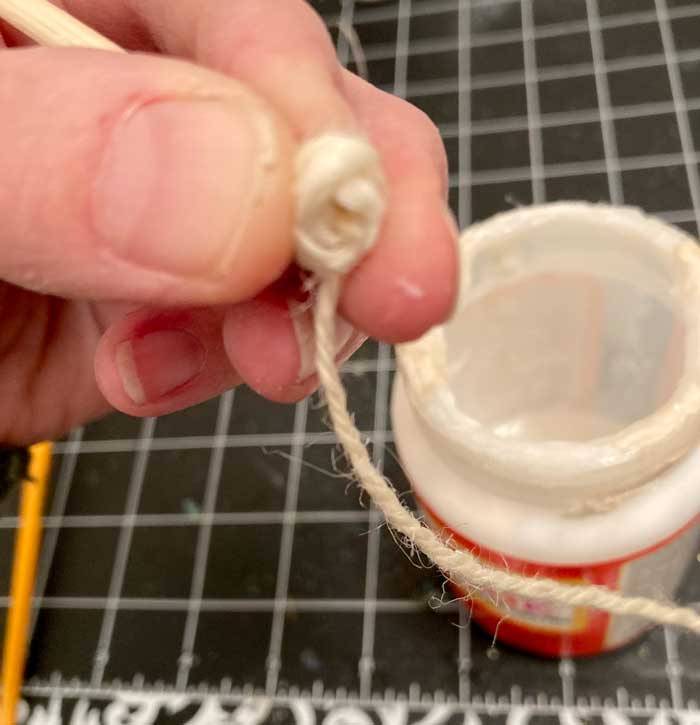
Obviously, I should have given myself a manicure before taking this photo!
As you go up the light bulb, brush on a little Mod Podge, wind, and then cover the newly wound twine with more Mod Podge.
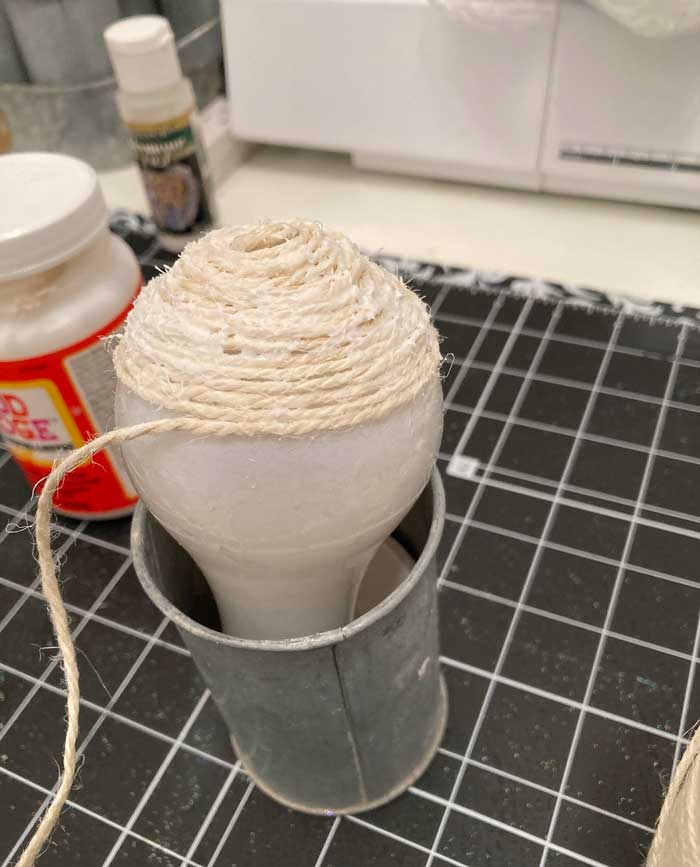
You will find that it is easier to continue winding by placing the light bulb in a small pail or cup to free up your hands a little Once I wound the twine as far as I could go with it sitting in the pail upside down, I let it set until it was dry. Then, I flipped it over and continued winding.
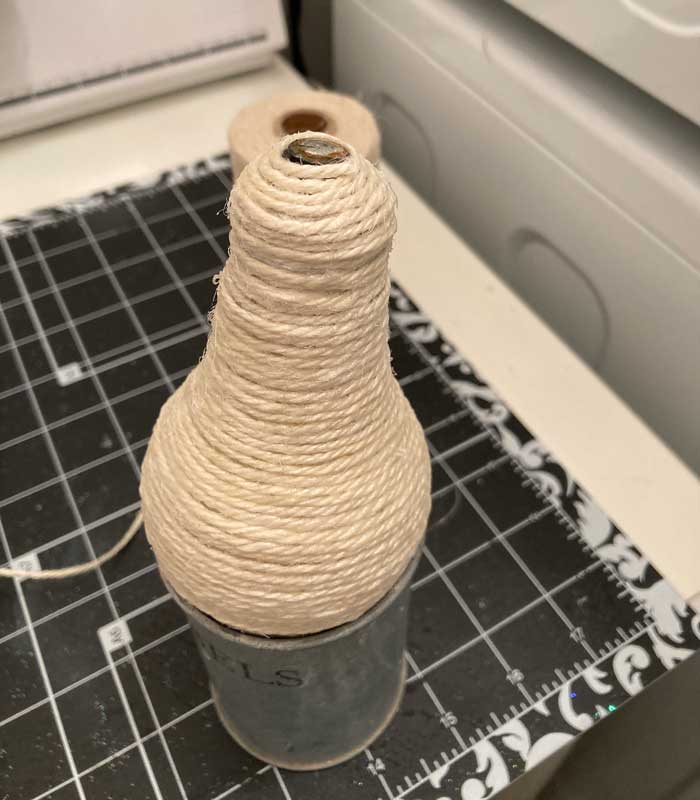
Leave the very top metal part of the light bulb free from twine. This is where you will connect a stem with leaf.
Step Two: Create Stem And Leaf Attachment
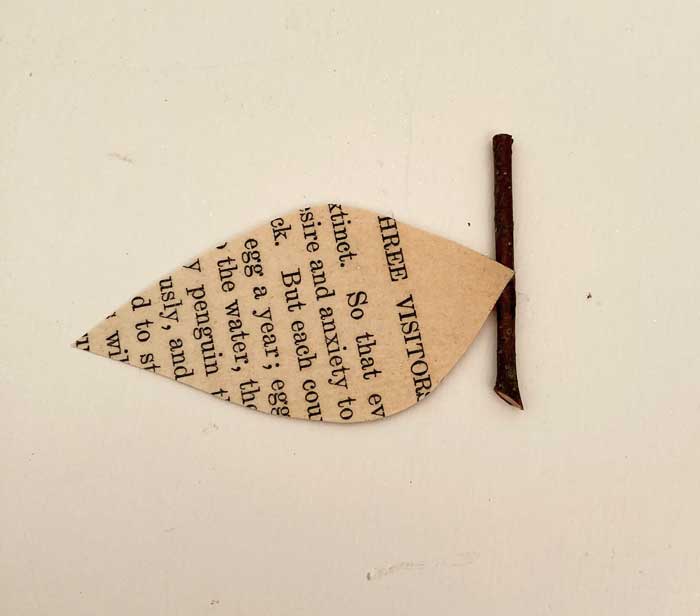
While you let your decoupaged twine dry, begin working on the stem and leaf. I used a book page leaf which you can see how to make from by Fall leaf wreath tutorial.
For the stem, I simply broke off a section of a small birch branch at about an inch long. I cut the thicker end of the branch straight with a clipper. You could also use scissors or a razor knife.
To attach my book page leaf to the branch, I just brushed on a small amount of Mod Podge to the branch and also to the end point of the leaf. Then I pressed the leaf to the branch and let it set to dry. It will actually create a nice strong bond. I know this because after it was dry, I tried to peel the leaf off to reposition it and it wasn’t going to come off easily.
Step Three: Add Paint And Sparkle
I debated leaving the twine pear neutral for a simple display. However, in the end I thought it would be more festive as a pear ornament with a touch of paint and glitter.
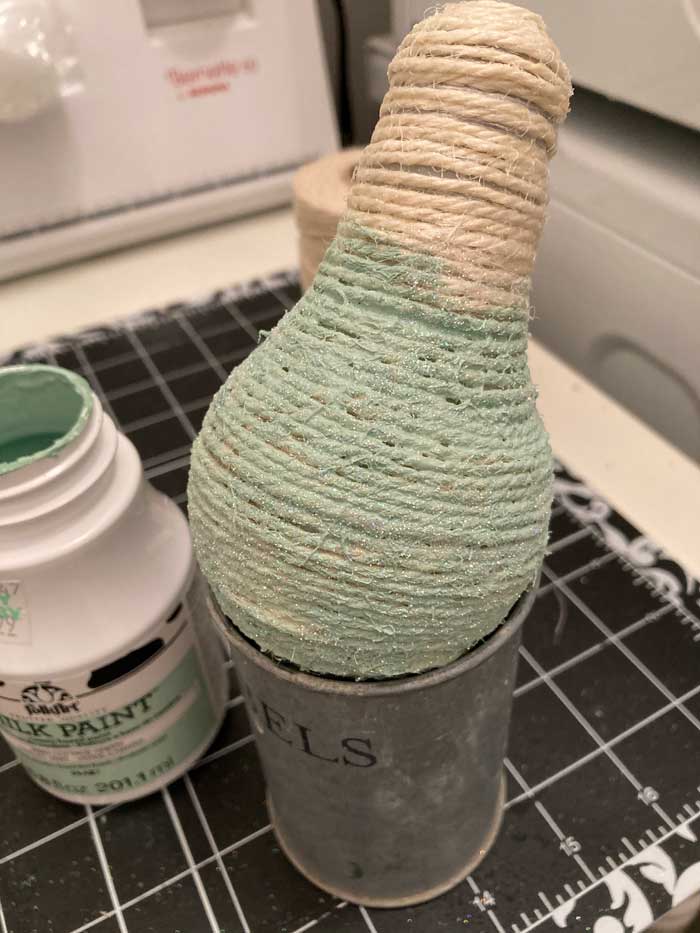
Since I wanted the color to have some slight variation like a natural pear, I used just a thin coat of milk paint. Milk paint is very thin and easy to work with on twine. I brushed it on thicker in some areas and lighter in others and it naturally gave it some dimension.
Again, I painted one half of the pear first and then the other half once the paint was dry. This just makes it less messy as you never have to hold, or place the pear in a cup, with the paint being wet.
While the paint was still wet, I sprinkled some Glamour Dust glitter to it so it would adhere to the paint once dry.
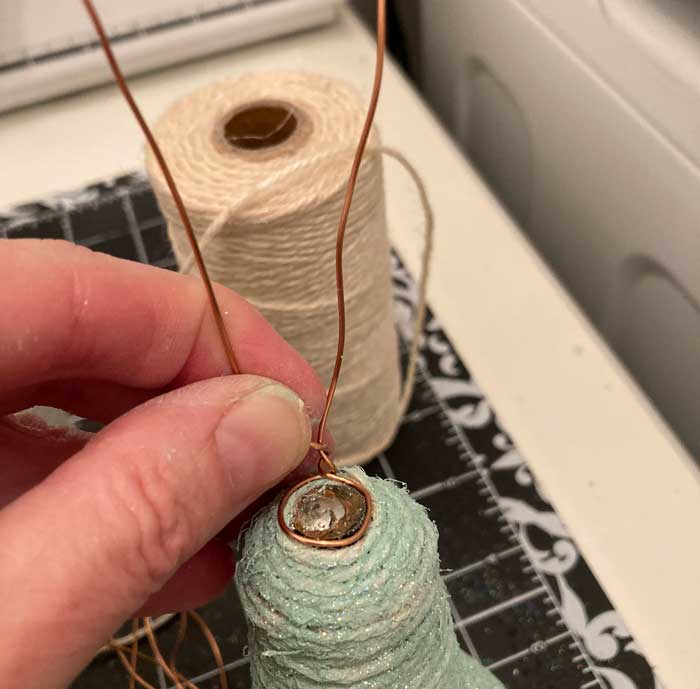
Step Four: Attach Wire For Hanging
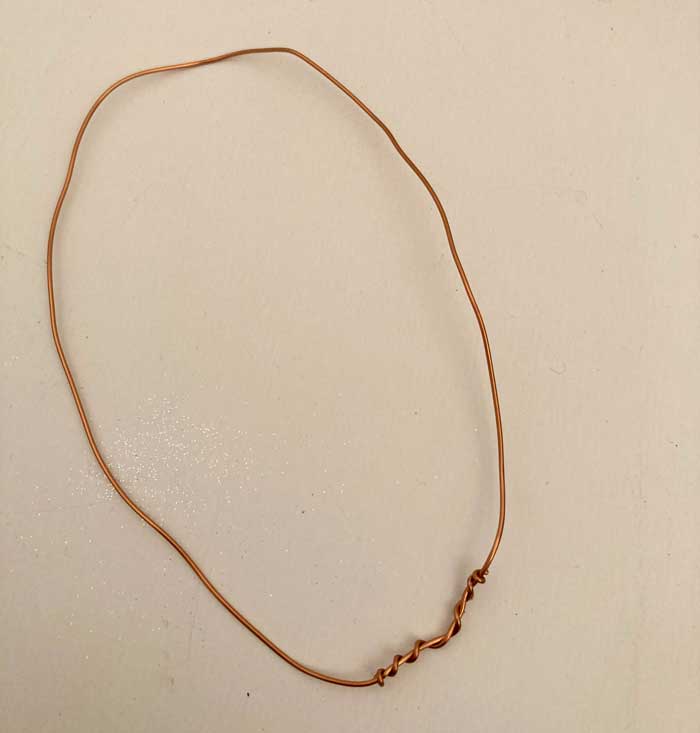
Cut a length of jewelry wire about a foot long. Twist the two ends together to create a loop. Fit the loop end around the metal top of the light bulb. Twist the wire two form a small circle for attaching around the metal end. Hot glue this circled end to the top of the light bulb.
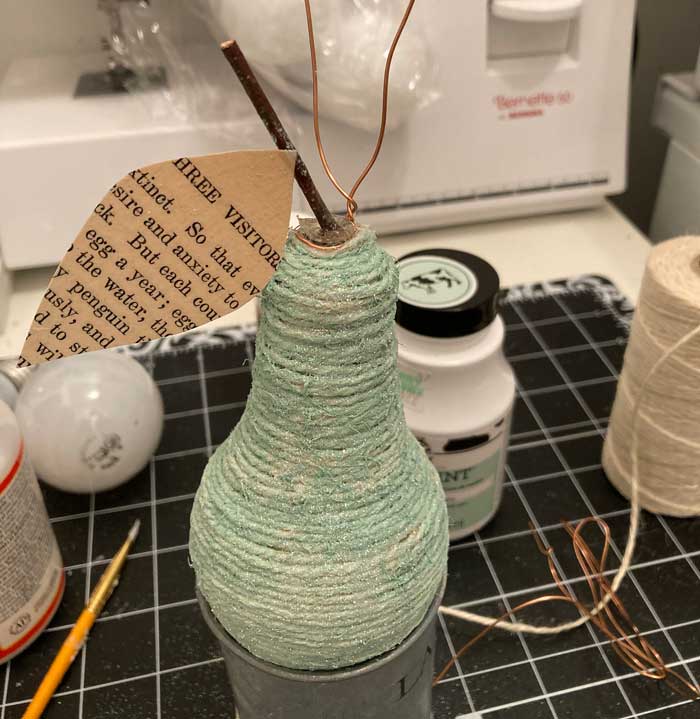
Step Five: Attach The Leaf And Branch
Now the pear ornament is ready for the leaf and branch attachment. Using hot glue, adhere to branch/leaf to the middle top of the light bulb.
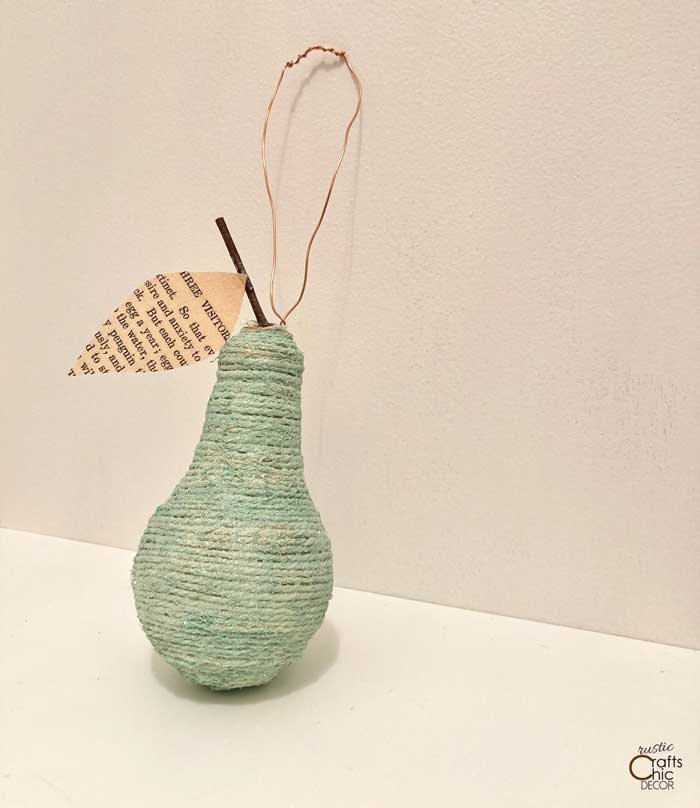
Finished Pear Ornament
If you enjoy making your own Christmas ornaments, you may also want to try one of the following homemade Christmas ornaments.